Continue reading “Hero Product | Stila Stay All Day Liquid Lipstick in Patina”
It’s that time of year when you can subtly ask your loved ones for those products that you really can’t justify spending your hard-earned cash on. Or maybe you do want to part with your cash but you So today, I wanted to bring to you my favourite luxury products, and ones I think that are really worth it…
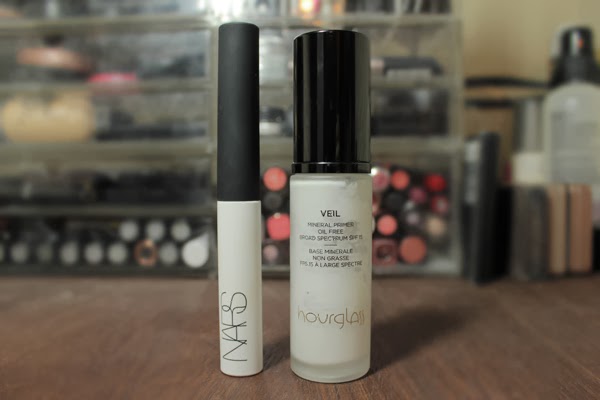
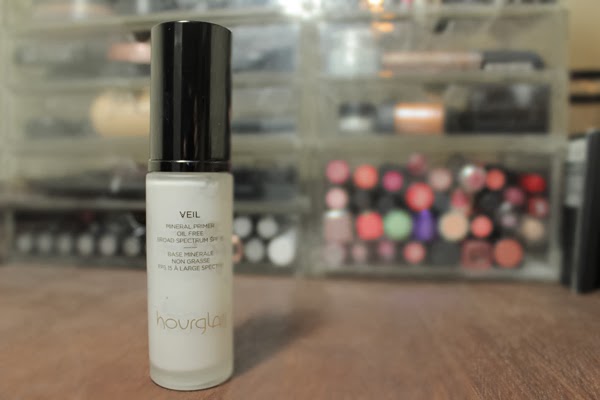
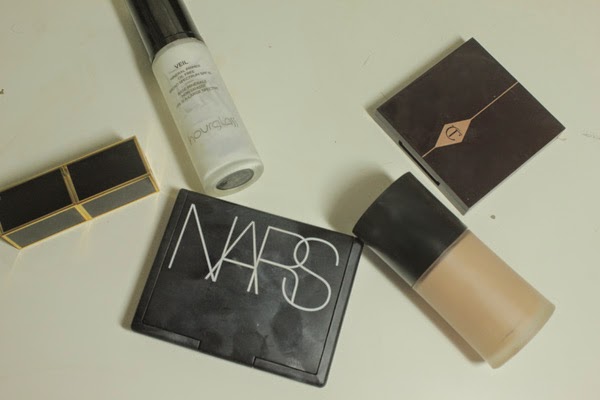
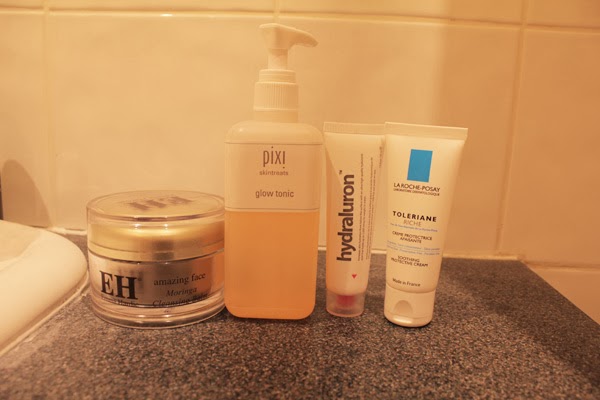
Hourglass Veil Mineral Primer
Lets get the price out of the way first… This is a pricey option at £52 – although $52 in the States making it much more cost effective if you can buy it there. However, this is absolutely worth the money. Using face primers in the past, I never really saw too much of a difference, but this creates the smoothest base to apply makeup on. It isn’t a silicone based primer so it doesn’t leave your face feeling squeaky clean but rather leaves it smooth and perfected. What I love most about this primer though, is how it extends the length of wear of my makeup. When I wear this primer, my makeup will stay on all day without fail. The pump is also great – it dispenses the perfect amount of product to cover the entire face. I can find no fault with this product, and if you can fit this into your budget, even as a product only to be used for special occasions, I would 100% recommend.


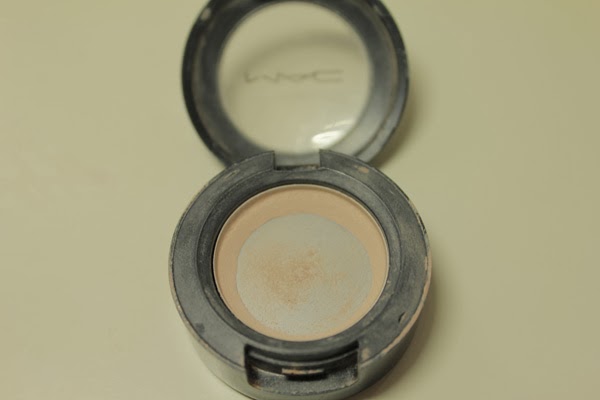
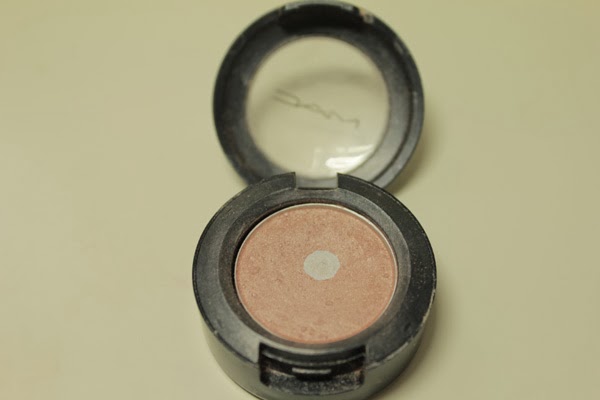

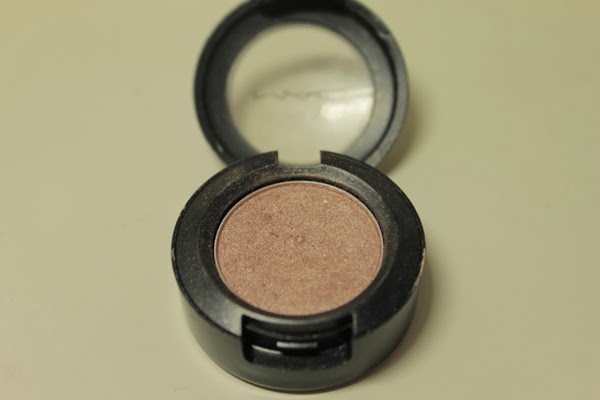
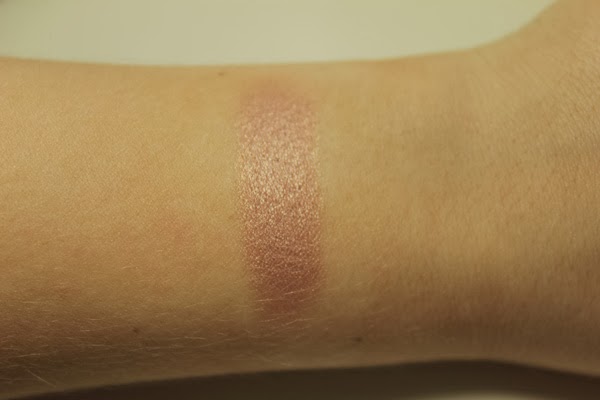
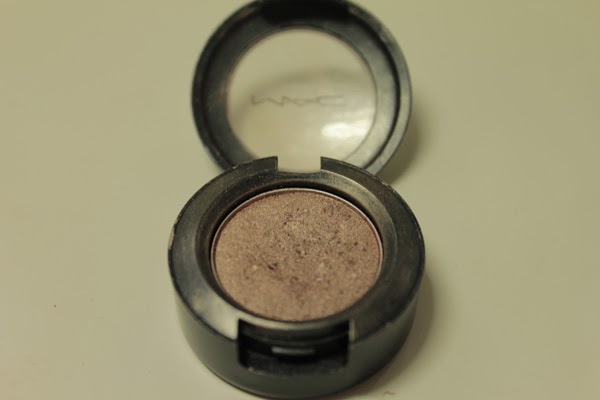
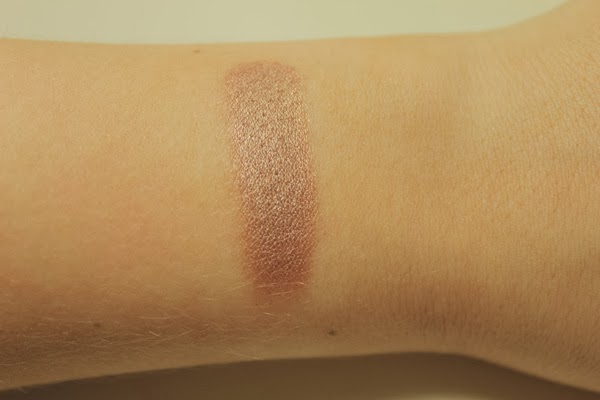
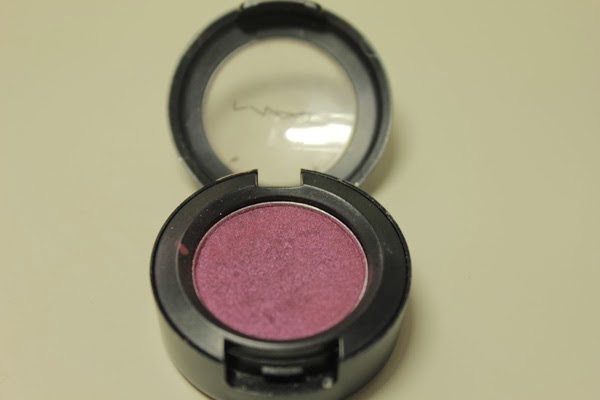
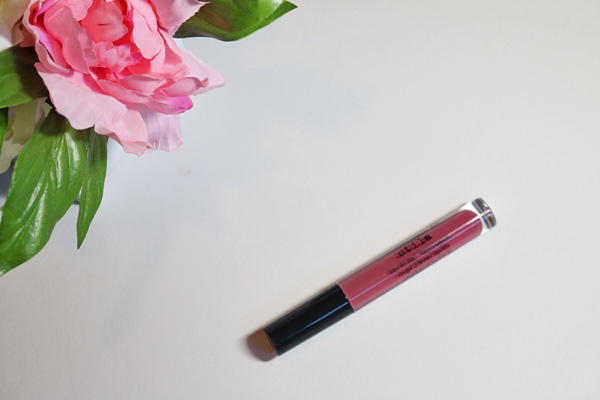
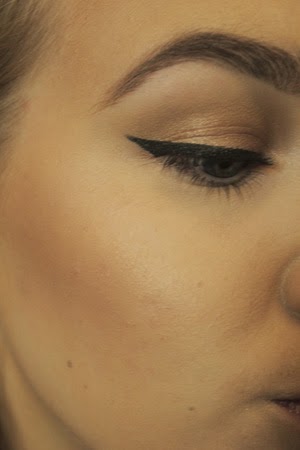
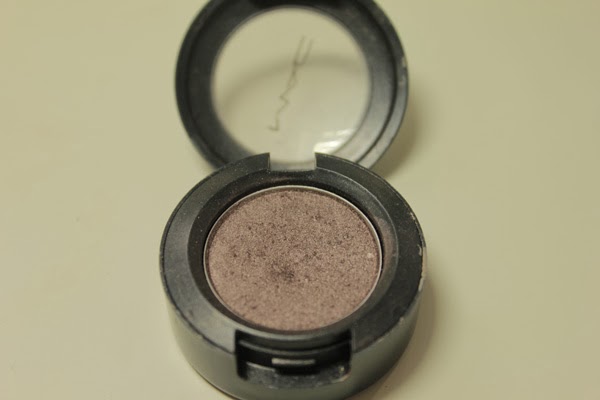
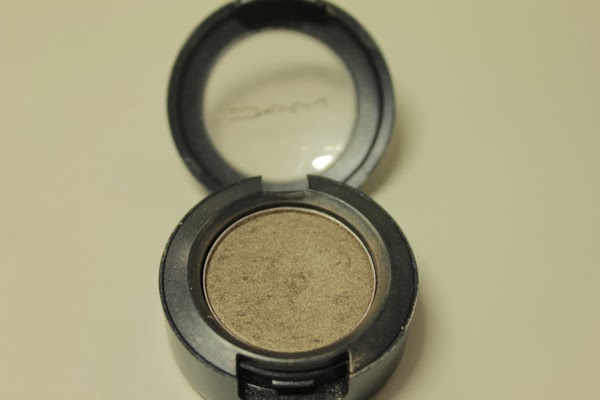
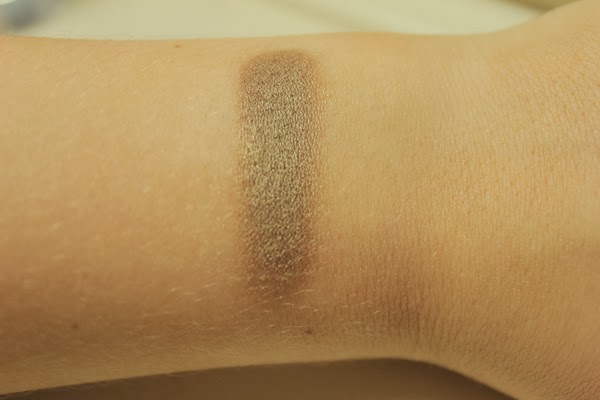
Patina is described as a ‘taupe brown with a golden pearl’ with a frost finish. I find the combination of the cool base colour with the shot of warm flecks throughout make this shade really unique. It’s a shade like Woodwinked where it is very versatile, and I often wear this shade all by itself. It doesn’t look very exciting in the pan, but on the eyes this is such a flattering colour, and it isn’t overly shimmery. One of my all time favourite eyeshadow looks is wearing this on the lid and putting Satin Taupe (up next!) in the crease.

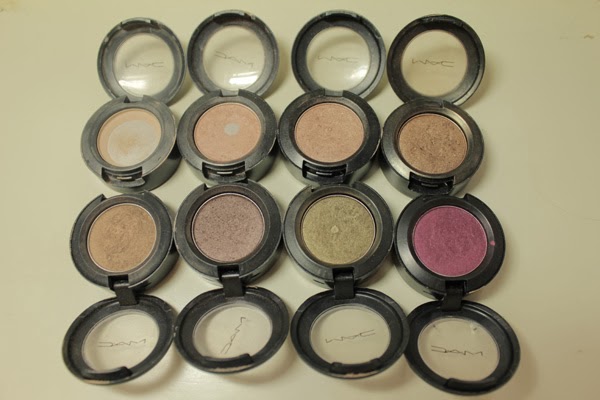
My collection of Mac eyeshadows is rather small compared to some, and I am sure mine will continue to expand in the future. They really are great quality, but with the amazing palettes currently on the market, I often find myself forgetting about them! Coming up soon – everything else I love from Mac…
-RachelElizabeth
Mac was probably the brand that really got me into makeup. I remember walking into a Mac store for the first time and being so overwhelmed with the amount of shades of eyeshadows, lipsticks and everything in between. About 5 years on I am much more confident, and practically know the whole brand inside and out, which has resulted in building quite a substantial Mac collection. I was planning a favourite Mac product post, but my list got so long that I thought I should separate into different categories: lipsticks, eyeshadows and face products.