
FOTD | Go-to Night Out Makeup
If you’re at university, or you have been, you’ll understand the feeling that you may not have that much time to do your makeup before a ‘spontaneous’ night out. Or maybe you’re not one to spend hours getting ready. Recently I have found my favourite look for a night out that I can throw together pretty quickly, and as an added bonus, it looks really nice in photography. So if you’re into the bold lips, lashes and brows, keep on reading…
I’m always one to focus most of my time on my base. When it comes to a night out, I rarely skip using the Hourglass Veil Mineral Primer as it keeps my makeup in place better than any other product I’ve tried. For foundation lately, my favourite has to be L’Oreal True Match – this is a great budget alternative for my beloved Giorgio Armani Luminous Silk (check out my full review here). I add the Nars Radiant Creamy Concealer anywhere I may need some extra coverage, and I also take a shade lighter under my eyes and on the high points of my face to highlight. I set everything in place with a powder, either the Mac Mineralize Skinfinish Natural or the Hourglass Ambient Lighting Powder in Dim Light. I also found it important to add colour and definition to the cheeks or your face can look pretty flat in pictures. I bronze up the skin with Nars Laguna Bronzing Powder, and have been loving the Anastasia Beverly Hills Contour Kit to add shadows under the cheekbones and on the temples, and I also like using the lighter shades to set my under eye concealer and any highlighting I have done. I’ll top the look off with a little powder highlighter – my favourite recently has been the Bobbi Brown Shimmer Brick in Beige. I add some to the tops of my cheeks, the tip of the nose, the cupids bow and the chin.
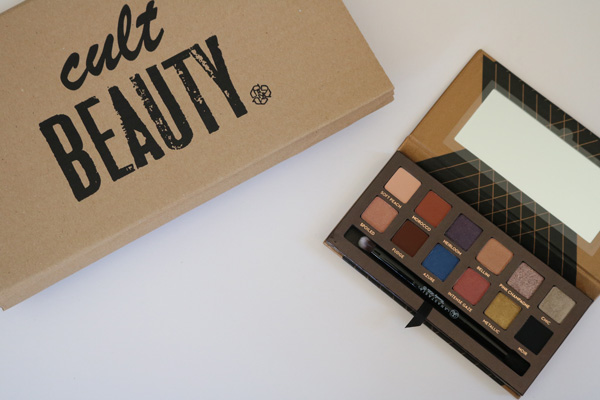
This eye makeup is incredible simple and easy to achieve. I start by defining the crease, and I do this by building up different shades of orangey-browns, increasingly getting darker to achieve a blended and blown out look. Any matte browns will work for this, but I tend to reach for my Makeup Geek Eyeshadows, in particular Peach Smoothie, Creme Brulee and Cocoa Bear. I will then pack a shimmery shade all over the lid, and my absolute favourite for this is Mac Tan Pigment. It catches the light beautifully and is amazing for any warm-toned look. I then create a winged out eyeliner with the Kat Von D Tattoo Liner in Trooper, apply lashings of mascara, and then a pair of false lashes. These will help your eyes really pop and add instant glamour to any look. The pair I’ve used in this look are the Eylure no. 121 which are thick, fluffy and are longer on the outer corner, which help to emphasise the winged-out shape of this look. I’ll then run some of the shades I used in my crease along the lower lash line to balance out the look. To finish off the eyes, I filled in my brows with the Anastasia Dip Brow Pomade in Blonde, going for quite a strong brow which I think works well with this look.
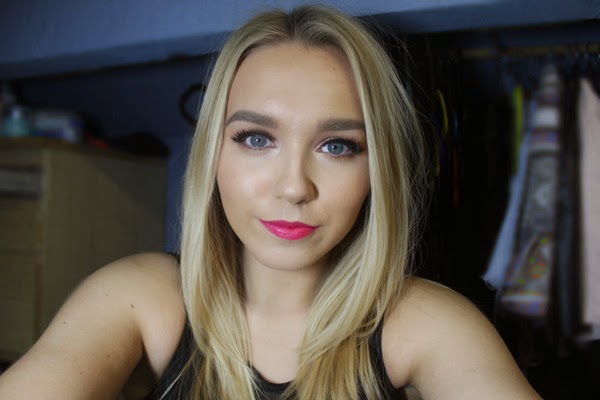
Finally, the star of the show, the bold lip. I find that I can wear any colour with this look, but my favourite shade to wear by far is a bright pink. I’m definitely a lipstick addict, so I have several favourites, but the shade I went for in this look is Mac Viva Glam Miley Cyrus which I have a full post on here. With a bright lip, you tend to need a little added colour on the cheeks, so for blush my go to is Tarte Amazonian Clay Blush in Exposed as it is a no-brainer shade that goes with any look.
I hope you enjoyed this look, and perhaps if you’re not so into bold lips this may have inspired you to give one a go? I think they are so flattering and will also reduce your getting ready time as the eyes really don’t need as much work. Let me know your go-to look for a night out below!
–RachelElizabeth
Makeup for Photography | Blogmas Day #10
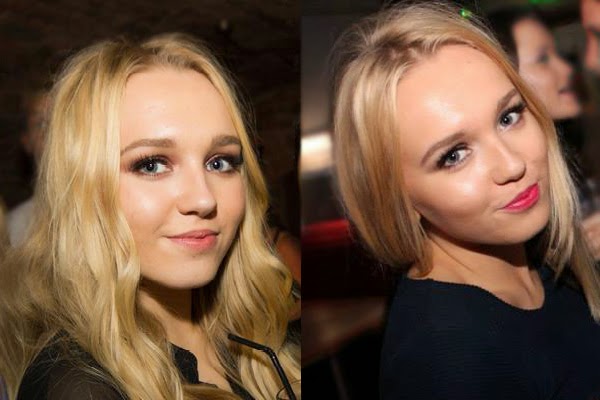
With the festive season well and truly underway, it’s likely that many of you will be invited to more events than usual. Whether they’re nights out, christmas parties, or general reunions, you will probably encounter some sort of camera, and when you put so much effort into your makeup when getting ready, you want to make sure you’re camera ready. I’ll admit I’m not often photographed, but after many club nights and their ‘professional’ photos, I’ve picked up a few key tips that I thought I would share with you…
Avoid SPF
It’s a well-known fact in the beauty world that the ingredients that make up sun protection (zinc oxide and titanium dioxide to be exact) can cause flashback in photography. Have you ever looked back at pictures of yourself and though that your face looked extremely pale and ghostly compared to your face? This could be the reason. You need to check all products you use – moisturiser, primer, foundation and powder should ideally be sans-SPF. Having said this, some products with SPF that I own photograph beautifully (L’Oreal True Match being one of those), but if you’ve never tested them, it’s safer to err on the side of caution. My favourite foundation for photography is by far the Giorgio Armani Luminous Silk Foundation – I am wearing it in both the pictures above, and – if I do say so myself – I think it captures the light beautifully, leaving my skin looking glowy and healthy.
Contour, Contour, Contour
Features can definitely get lost in photos, so I definitely make sure to bring back colour and definition to my face. I am planning on doing a post all on contouring soon, but to keep things short and simple, I use Mac Harmony Blush with a Sigma F35 Tapered Highlighter Brush to sculpt out my cheekbones and temples. I also find it important to bring back some warmth and colour to my skin, so to the high points of my face (i.e. where the sun would naturally hit) I apply bronzer – usually Nars Bronzing Powder in Laguna. I also always apply blush, as you can sometimes look a little washed out and lost in photos. All these steps are done with a much heavier hand than I would ever do in the daytime in order for them to even show up in pictures. This also means you have to spend a little longer blending everything out, and I like to just go back over everything with the brush I used for my foundation.
Define those Eyes
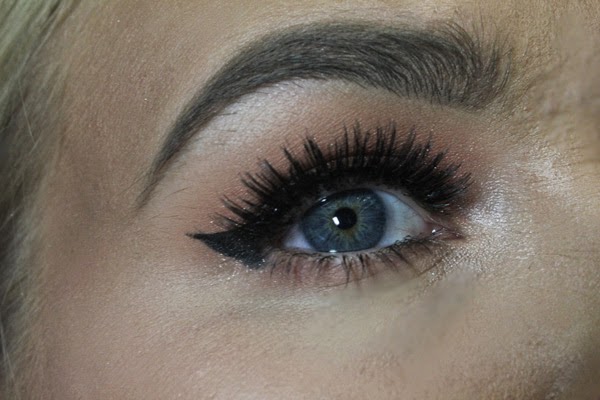
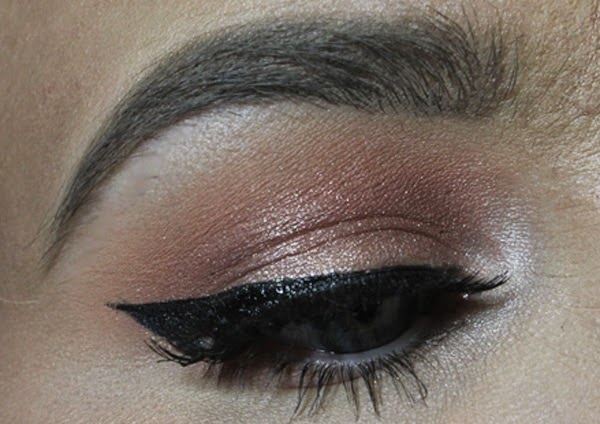
You don’t necessarily need to be the master of smokey eyes to look great in pictures. I think the most important element of your eye makeup is defining the upper lash line. I personally love to line my eyes with a gel liner – something like the Mac Blacktrack Fluidline. It is equally important to tight line – this is lining the inside of the eye. I find this a little unflattering on the lower waterline, but doing it on the upper really helps to darken the lash line and create drama. Lashes are also a must for me; they make your eyes stand out and really pop in photos. My ultimate favourites for my eye shade are the Ardell Demi Wispies. My final tip is to give some love to your eyebrows. I tend to go in much heaver with my brow pencil, my favourite being the Anastasia Beverley Hills Brow Wiz in Taupe. As you can see from the pictures I still don’t go over the top, but they are lot more defined than I would go for an everyday look.
Hopefully this post has been somewhat useful or interesting and I hope that you can use some of these tips when you’re next being photographed! I am by no means claiming to be an expert, and I am completely self taught. Have you got any tips for makeup for photography?
–RachelElizabeth
Monthly Favourites | November 2014
November is my favourite month of the year, so I thought it was pretty apt to do my first every monthly favourites this month. This month has been full of fun and celebration – both mine and my dad’s birthday fall in this month which is always fun. Let’s not forget I turned 21, which is crazy! I had such an amazing birthday this year, with my trip to Paris with my family, my best friends coming up to uni to visit and a great day with my housemates. I couldn’t have wished for more! Now, onto the products that I haven’t put down this month…
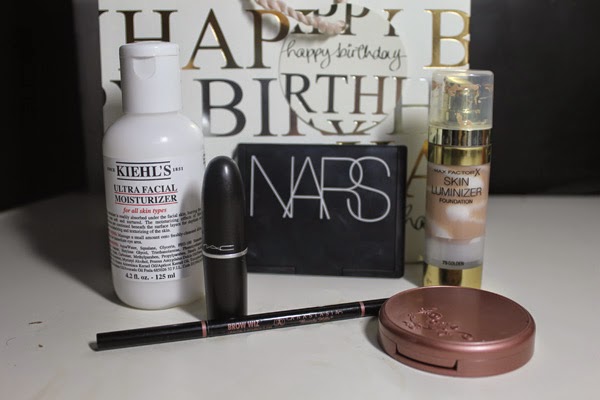
My foundation of choice has definitely been the Max Factor Luminizer Foundation (check out my full review here). If you love glowy and fresh looking skin, then this is definitely worth considering. I love this for an everyday base as its a good medium coverage, but looks really natural. This month I repurchased a long-time favourite – the Nars Bronzing Powder in Laguna. It had been out of my life for a while, but I have definitely rekindled my love for it, and it is definitely my favourite bronzer ever (read my full ode here). Another cheek product that I can’t seem to stop using is the Tarte Amazonian Clay Blush in Exposed. For me this is the perfect cheek colour – there isn’t one look that this doesn’t go with and I tend to grab this on default. It is somewhat sculpting as it has brown undertones, but it still warms up the skin and gives a beautiful flush. The last standout makeup item for me this month has been the Anastasia Beverly Hills Brow Wiz in Taupe (full review here). This is by far the best brow product I have ever tried and I’ve even forgotten about Mac Fling, which I never thought would happen. It makes it easy to have really defined brows with its defined point, but that also allows for the ability to draw natural hair-like strokes, making it a very versatile pencil.
Moving on to non-makeup favourites, something that has really impressed me this month is the Kiehls Ultra Facial Moisturiser. I am generally underwhelmed by moisturiser – my skin isn’t very dry so I’m not searching for that intense hydration, but I don’t like ones that don’t seem to give me quite enough. Picky, I know. This is a no-fuss dose of hydration that works great as a base under your makeup and also for overnight use. This month has also been great in terms of fitness. I have been loving the FitnessBlender YouTube channel, and I have done both the free 5 day challenges that they have to offer. They offer a great variety of HIIT workouts and strength training, and I am definitely feeling the benefits. I’m considering trying one of their 8 week challenges next…
All in all, I have had a great makeup month, and I’m really impressed with some of the new things I have tried. And now December has come around, I can finally get excited for Christmas! Speaking of which, I’m still undecided, but I may be giving Blogmas a go, which is blogging every day in December until Christmas… It will be a challenge, but I think I’m definitely up for giving it a go. What have been your favourite products this month?
–RachelElizabeth
FOTD | Makeup For Glasses

I’m not entirely sure why I’ve never spoken about or worn my glasses on my blog before, but I actually have to wear them everyday in real life. I also have contacts, but I’ve never found them comfortable enough to wear daily, and in all honesty, I actually quite like wearing glasses. The only thing that I find annoying is that makeup ultimately gets swallowed up by the frames, and there are also several factors that I have to consider when adapting my makeup for glasses.
So, my frames are Tom Ford (link here) and they are relatively new. On me I prefer a bigger frame, just because I feel it suits my round face shape. I really like the slight cat eye that these glasses have and I always go for tortoise shell frames as they are less harsh against my light features than black. However looking at them from a distance they practically look black meaning that they go with everything.
The main concept I’m going to focus on in this post is definition. Especially with big frames like mine, your face can get pretty lost and end up looking quite flat. I find it hugely important to pay extra attention to the brows – the key here is for them to look groomed, defined but not so intense that they compete with the frames. Today I used the Anastasia Brow Wiz in Taupe (full review here). I think it is also important to focusing on defining the lash line, especially when you have light-coloured eyes like me. I always go for a wing, and my favourite eyeliner of the moment is the Urban Decay Ink For Eyes (full post here). Finally, as cliche it may be when it comes to makeup looks for glasses, I love to rock a bold lip as it really balances out the face. Today I was feeling quite autumnal, so I lined my lips with Mac Beet Lip Pencil and then applied the Yves Saint Laurent Rouge Pur Couture in 60 Antifashion over the top. I love this lip combo as while it is still a berry, it still brings a lot of light and colour to the face.
I don’t believe that there should be any rules or restrictions you have to abide to when it comes to makeup, but sometimes, especially when you’re in a rush, it is nice to have a go-to look to fall back on. Glasses are a great accessory in themselves, so it often means you don’t have to wear as much makeup to make a statement. Do you wear glasses? What are your tips and tricks?
–RachelElizabeth
Eyebrow Routine | Anastasia Beverly Hills Brow Wiz in Taupe – Review and Swatches
Lately I’ve become quite fickle with my brow products. I haven’t repurchased the same one since the Mac Brows in Fling (which I love) as nothing seems to have quite stepped up to the mark. I have a tendency (some may say problem) that when I find a product I really like, I don’t necessary stick with it just in case there is something superior on the market, and due to the vastness of the beauty industry, its likely that there is. Lets just say that I may have found my favourite brow product so far…
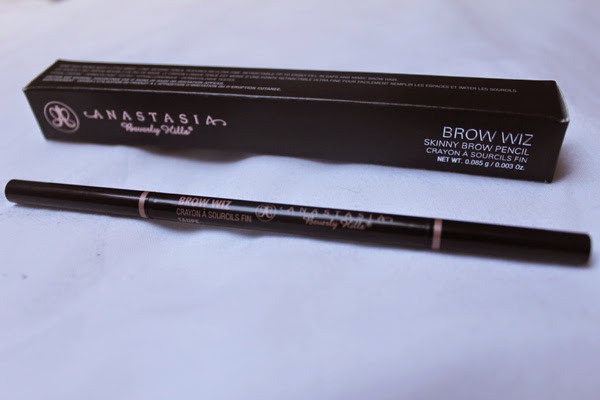
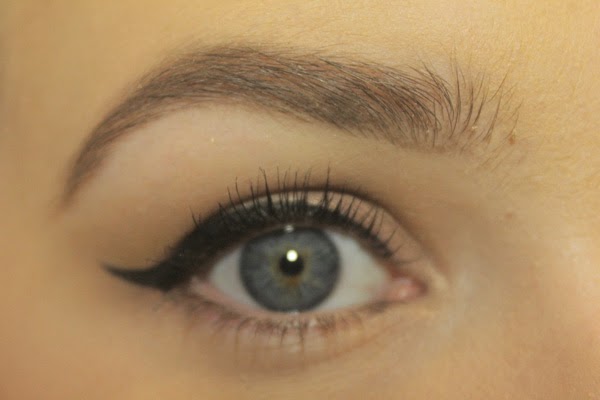
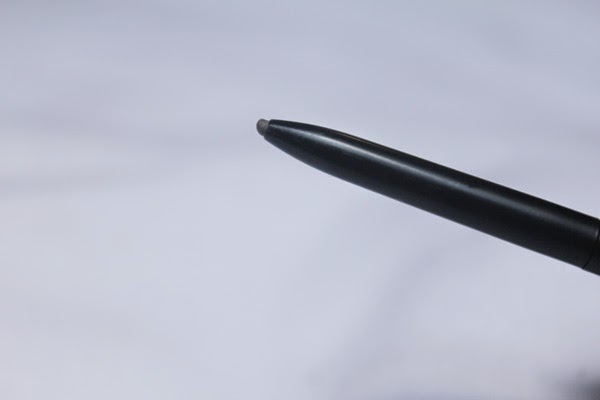
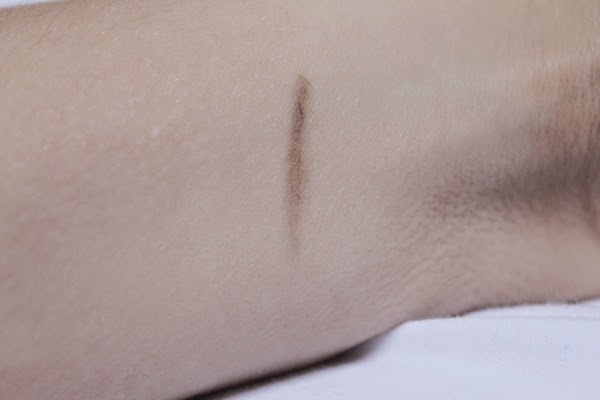
The Anastasia Beverly Hills Brow Wiz is a cult product that pretty much everyone is talking about. As my hair is blonde, I chose the lightest shade Taupe. It is a slightly ashy shade of brown, but not too grey and not too warm. I would say this is the perfect shade for my brows, and can see it working well more most blondes. In terms of the formula, it is slightly on the hard side, which I personally prefer. It means that it doesn’t apply too much product, which results in a much more natural finish. The tip is very fine which enables you to draw in very fine hair-like lines, which is great for filling in sparse gaps.
Right now, I prefer a more natural looking brow, so I begin by filling in the outer two thirds of the brow. This is where I deposit more product as this is where I want the most definition. When it comes to the inner portion, I apply a product very sparingly. I fill in as much as I need to make the eyebrows somewhat match, but I like to keep the inside looking as free of as possible. I find the built-in spooley extremely handy, and brush through my brows before and after filling them in to ensure they are in the right shape and that there is no product buildup (I will never understand why there isn’t one included with every brow pencil…).
Before
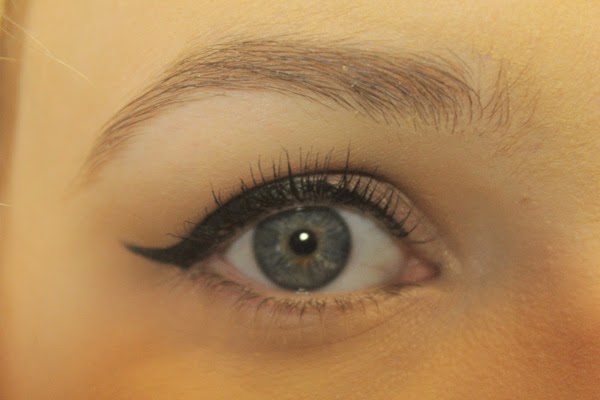
After

If you’re looking for a new brow pencil and you haven’t tried the Brow Wiz yet, I would definitely recommend picking this up. Whether you like natural or more defined brows, I think this is versatile enough to suit both those needs. Have you ever tried anything from Anastasia Beverly Hills? The Dip Brow Pomade is next on my wishlist…
-RachelElizabeth