The time has finally come for my birthday trip to New York! This afternoon I am jetting off to NYC with the boyf to celebrate my 21st birthday! This was actually my present from my parents, and it is possibly the best a girl can ask for. However, I have committed myself to Blogmas, and I really want to keep up with posting everyday, so I actually plan on scheduling enough posts until I return on Thursday! I thought I would start off with what makeup I am planning on taking on my trip, as these are some of my favourite posts to read – everyone loves to be nosey…
I will begin by saying that I am by no means a light packer – I like to have options. Having said that I don’t think that I have gone too overboard; I will leave that one up to you.
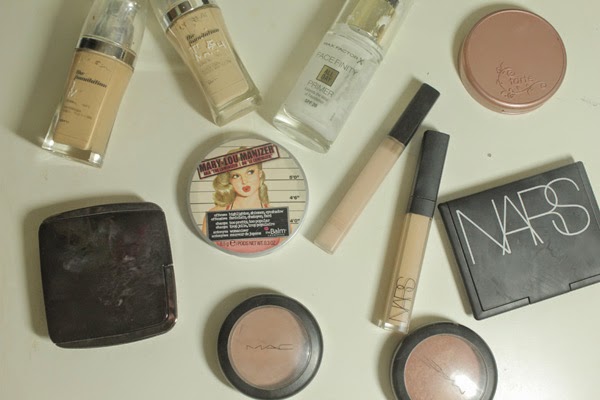
Face
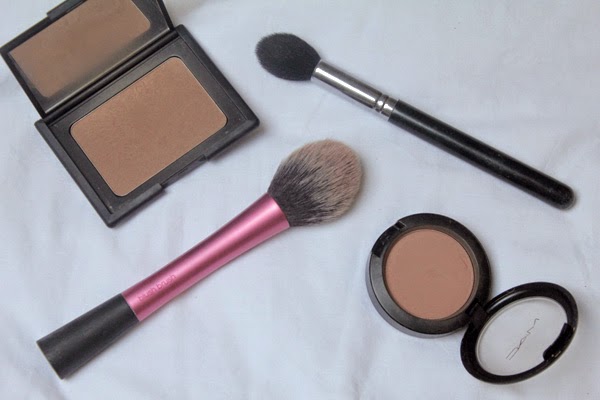
Because the days will be long, I definitely wanted to bring a primer. One of my all time favourites is the Max Factor Facefinity All Day Primer (full post here), and as I’ve almost ran out, I thought I would be able to finish it off on the trip. I then decided to bring my tried and true L’Oreal True Match Foundation (review here)- I am bringing two shades (W1 and W4) because I fake tan, and once it fades I need to mix the shades. I am also bringing two concealers: the Nars Radiant Creamy Concealer in Custard for blemishes and general imperfections and the Maybelline Fit Me Concealer in Fair to highlight the face. Moving on to powder products, I am bringing the Hourglass Ambient Lighting Powder in Dim Light (post here) to set my makeup, and the Nars Bronzing Powder in Laguna and the Mac Blush in Harmony for general bronze and contour goodness (check out my recent post for more details on this!). I decided to bring two blushes – my all time favourite Tarte Amazonion Clay Blush in Exposed and Mac Mineralize Blush in Warm Soul. These are quite similar colours, but Exposed is matte and Warm Soul is very shimmery. Finally, I’m bringing my current favourite highlighter theBalm Mary Lou-Manizer (post here).
Eyes
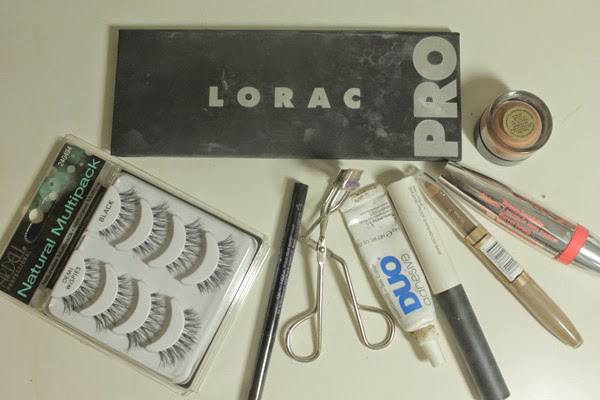
This category is one that I feel I have actually been quite selective. I had to bring my trusty Nars Smudgeproof Eyeshadow Base to keep my eyeshadow looking flawless all day, and I also decided to bring the Estee Lauder Pure Colour Stay On Shadow Paint in Chained for days when I want a quick easy option. I decided to stick to one palette that has everything I need, and this had to be the Lorac Pro Palette – I have a full review and swatches here. This is still quite new to my collection but it is probably my favourite palette, and I know that it will serve me well. Next is the Urban Decay Ink for Eyes liquid eyeliner and for mascara I am bringing the Bourjois Volume 1 Seconde Mascara. And of course I am bringing an essential to my makeup routine – my Tweezerman Eyelash Curlers and my current eyebrow pencil, the Revlon Brow Fantasy in Dark Blonde. As a bit of a glamorous addition to my makeup for my trip I thought I would bring a pack of my favourite eyelashes, the Ardell Demi Wispies.
Lips
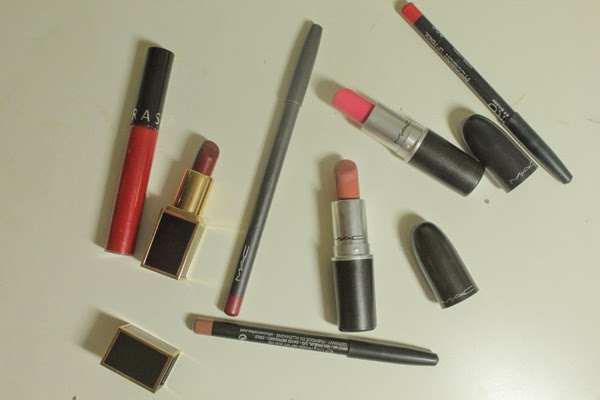
Probably my favourite category, and one that I always struggle to pack for! So I decided to bring the basic choices. For my nude lip option, I have picked the Kiko Precision Lip Pencil in 300 Caffe Latte and the Mac Lipstick in Kinda Sexy. This is one of my favourite go-to combinations at the moment. For a bold red, I chose another Kiko Lip Pencil in 306 Geranium Red and my current obsession, the Sephora Cream Lip Stain in 01 Always Red. In case I’m feeling a bold lip that isn’t red, I decided to bring Mac Impassioned, which is another fave of mine. And finally, the newest lipstick in my collection, Tom Ford Leonardo (full post here) just because it’s stunning. For a lip liner to accompany that, I’m bringing Mac Beet Lip Pencil.
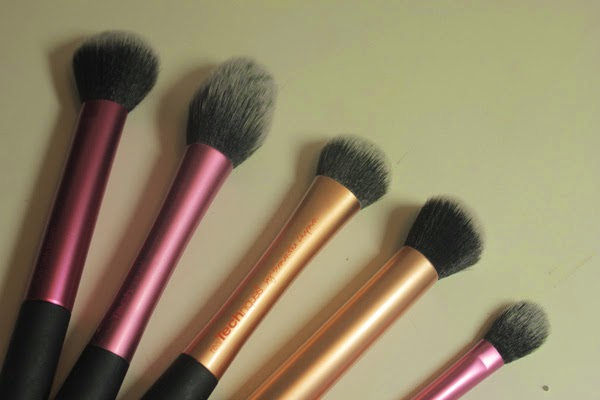
Brushes
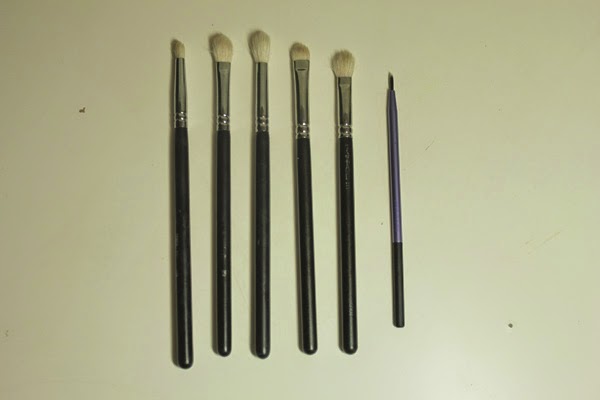
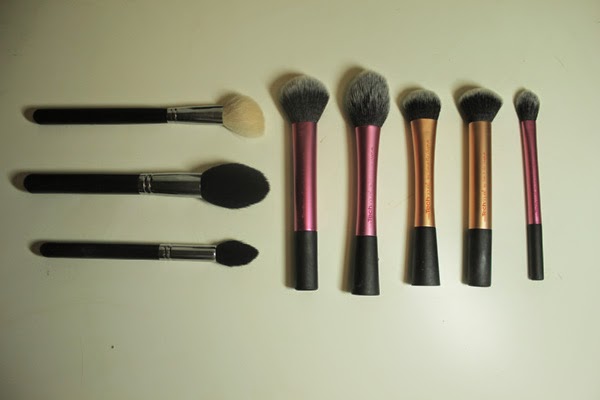
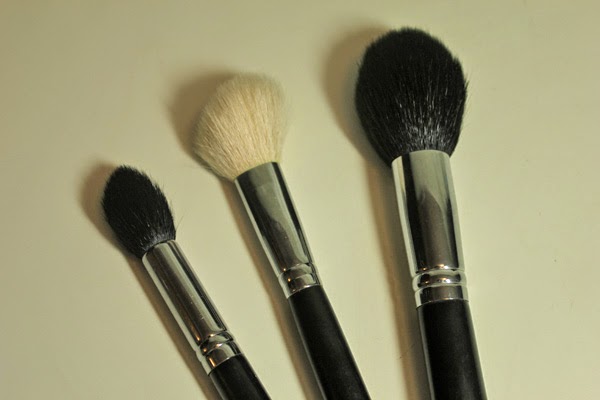
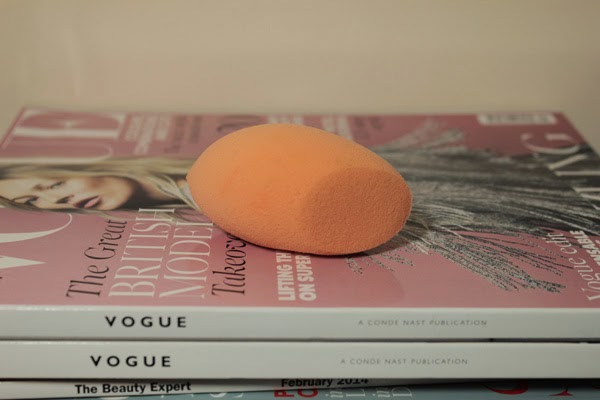
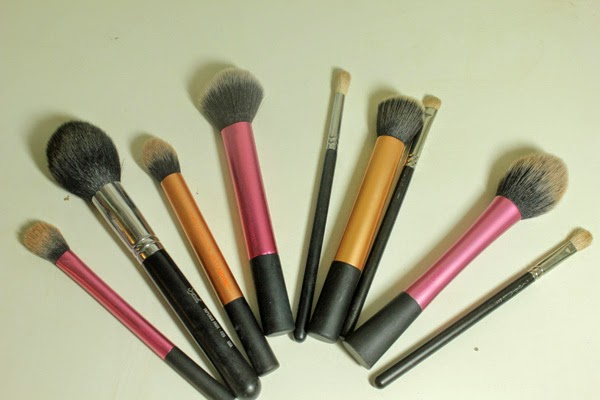
The final category is tools. For ease, I will list the brushes I am taking, and if you want to know more about my favourites, check out my posts on brushes here. So from left to right we have: the Real Techniques Setting Brush, the Sigma F25 Tapered Face Brush, the Real Techniques Contour Brush, the Real Techniques Multitask Brush, the Sigma E35 Tapered Blending Brush, the Real Techniques Buffing Brush, the Mac 239 Brush, the Real Techniques Blush Brush and the Mac 217 Brush. I know this may seem like a lot of brushes, but it means that I will have everything I could possibly need on my trip.
I apologise for the incredibly wordy post, but I hope that you enjoyed having a nosey in my makeup bag. Stay tuned tomorrow for all the skincare goodies that will be travelling across the Atlantic with me.
–RachelElizabeth