Continue reading “Current Makeup Hits and Misses | April 2016”
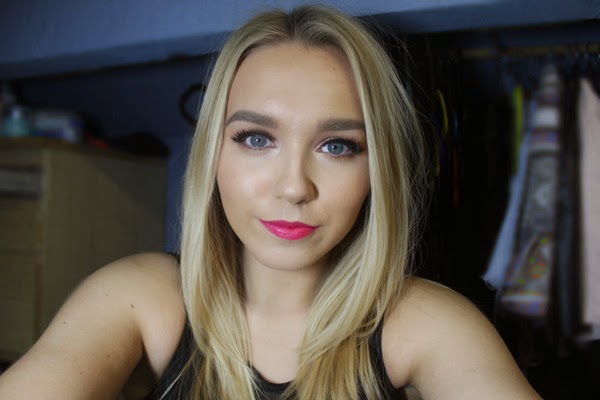
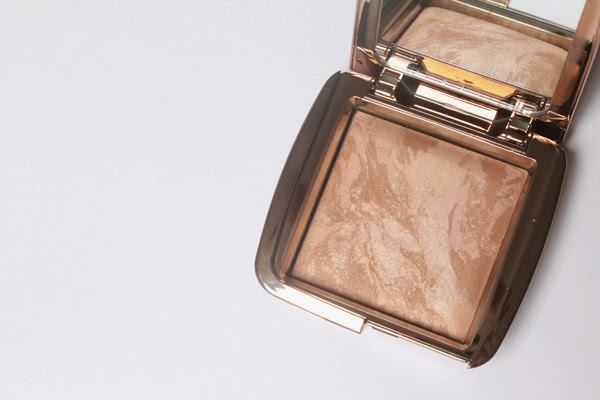
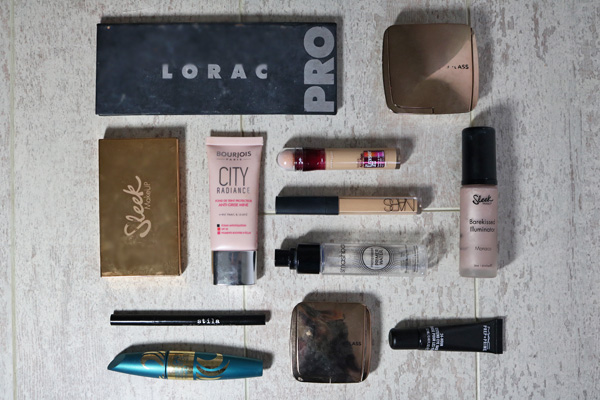
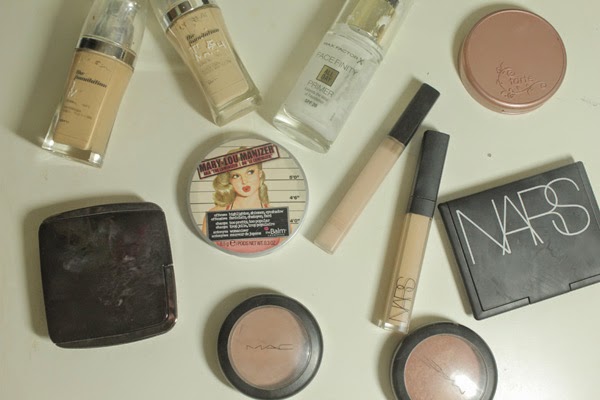
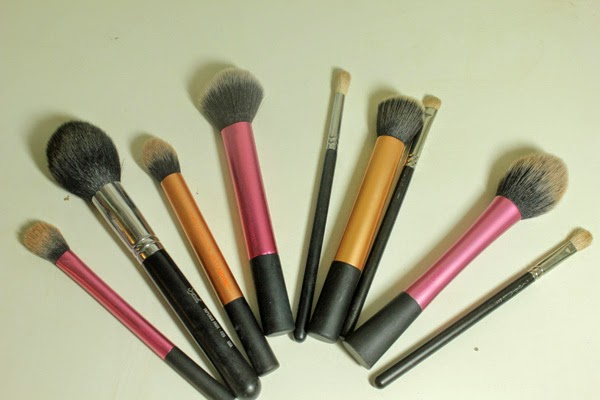
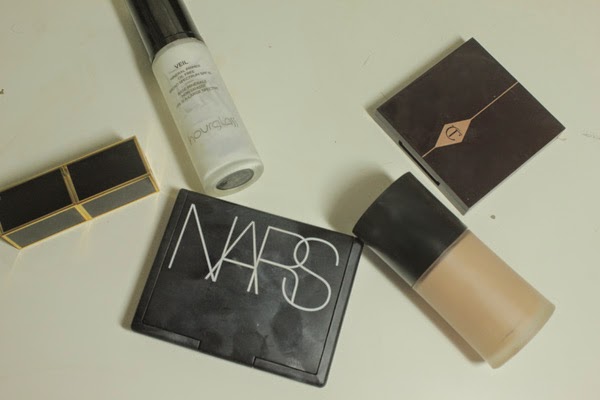
I’m always one to focus most of my time on my base. When it comes to a night out, I rarely skip using the Hourglass Veil Mineral Primer as it keeps my makeup in place better than any other product I’ve tried. For foundation lately, my favourite has to be L’Oreal True Match – this is a great budget alternative for my beloved Giorgio Armani Luminous Silk (check out my full review here). I add the Nars Radiant Creamy Concealer anywhere I may need some extra coverage, and I also take a shade lighter under my eyes and on the high points of my face to highlight. I set everything in place with a powder, either the Mac Mineralize Skinfinish Natural or the Hourglass Ambient Lighting Powder in Dim Light. I also found it important to add colour and definition to the cheeks or your face can look pretty flat in pictures. I bronze up the skin with Nars Laguna Bronzing Powder, and have been loving the Anastasia Beverly Hills Contour Kit to add shadows under the cheekbones and on the temples, and I also like using the lighter shades to set my under eye concealer and any highlighting I have done. I’ll top the look off with a little powder highlighter – my favourite recently has been the Bobbi Brown Shimmer Brick in Beige. I add some to the tops of my cheeks, the tip of the nose, the cupids bow and the chin.
It’s that time of year when you can subtly ask your loved ones for those products that you really can’t justify spending your hard-earned cash on. Or maybe you do want to part with your cash but you So today, I wanted to bring to you my favourite luxury products, and ones I think that are really worth it…
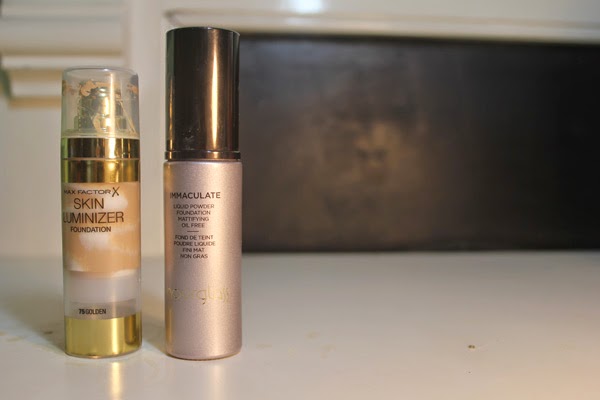


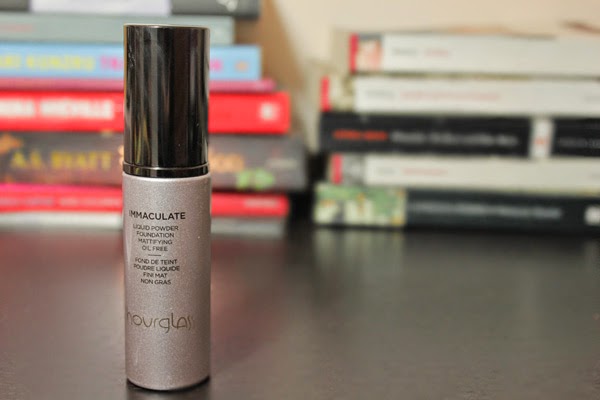
Hourglass Immaculate Liquid Powder Foundation

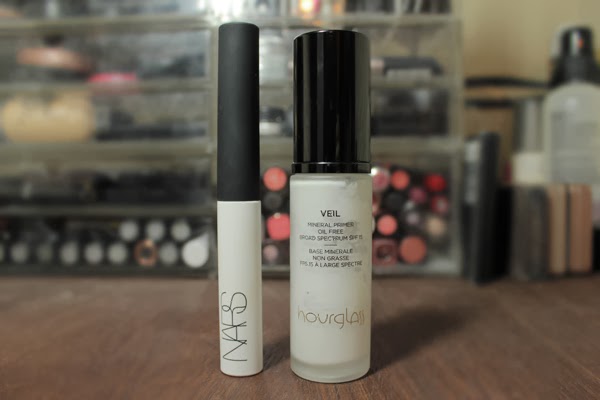
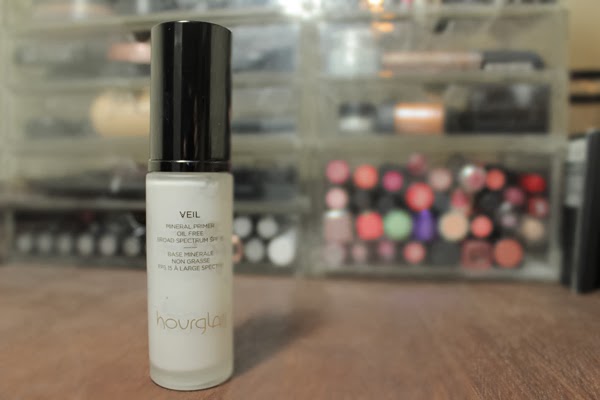
Hourglass Veil Mineral Primer
Lets get the price out of the way first… This is a pricey option at £52 – although $52 in the States making it much more cost effective if you can buy it there. However, this is absolutely worth the money. Using face primers in the past, I never really saw too much of a difference, but this creates the smoothest base to apply makeup on. It isn’t a silicone based primer so it doesn’t leave your face feeling squeaky clean but rather leaves it smooth and perfected. What I love most about this primer though, is how it extends the length of wear of my makeup. When I wear this primer, my makeup will stay on all day without fail. The pump is also great – it dispenses the perfect amount of product to cover the entire face. I can find no fault with this product, and if you can fit this into your budget, even as a product only to be used for special occasions, I would 100% recommend.