Inside My Sister’s Makeup Bag

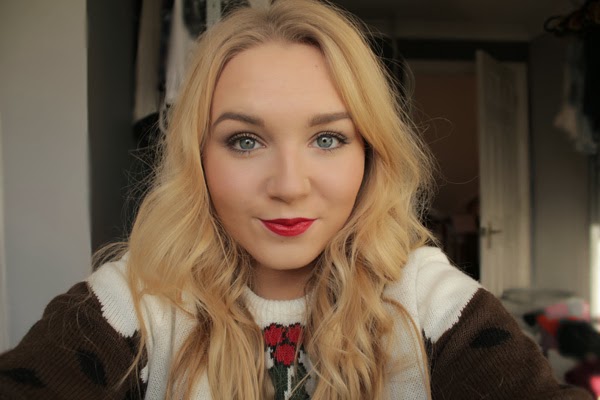
Introducing to RachelElizabeth, fellow beauty addict and my older sister Charli. We both started watching YouTube at around the same time (a long long time ago), and she, much like myself, has a rather large beauty stash. I’ve wanted to include her on the blog for a while, and as she often travels back home to visit I thought there was no better introduction than having a nose in her makeup bag. She is a Physiotherapist, so I asked her if she could explain the makeup that she wears on an everyday basis, and, of course, the fun things she adds to spruce it up on the weekends.
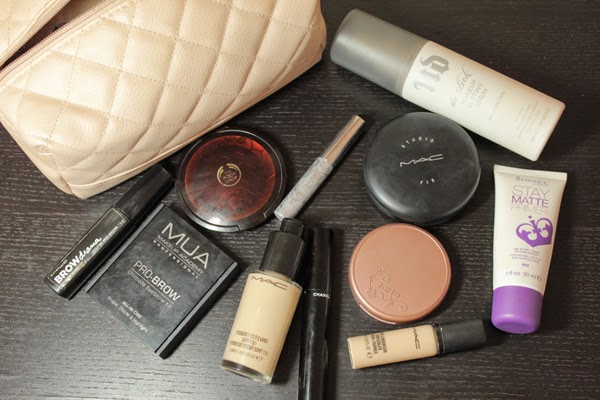
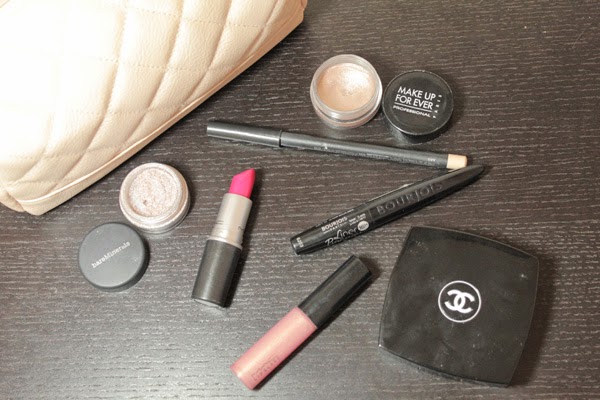
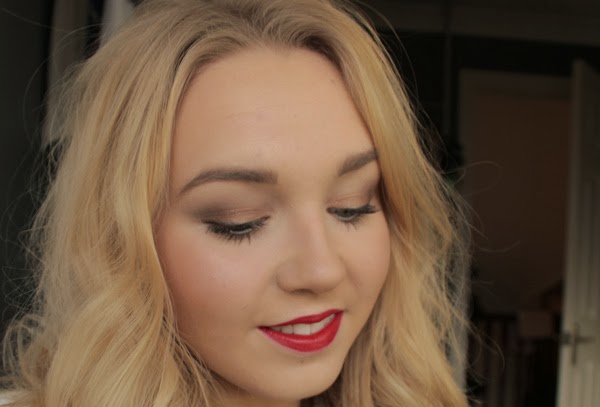
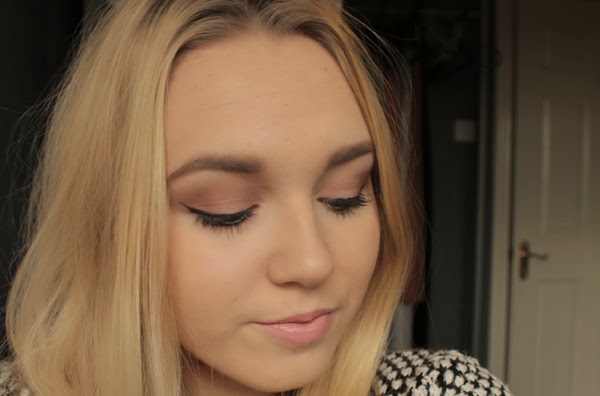
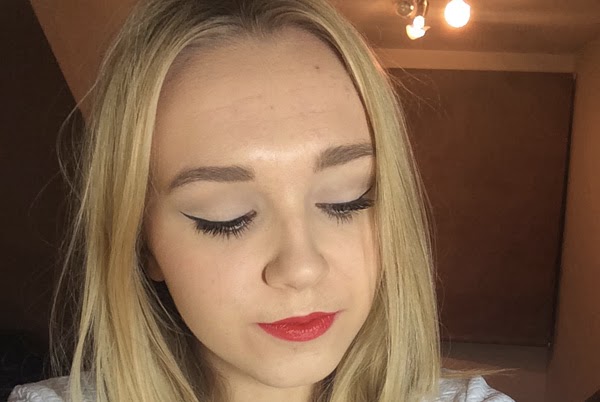
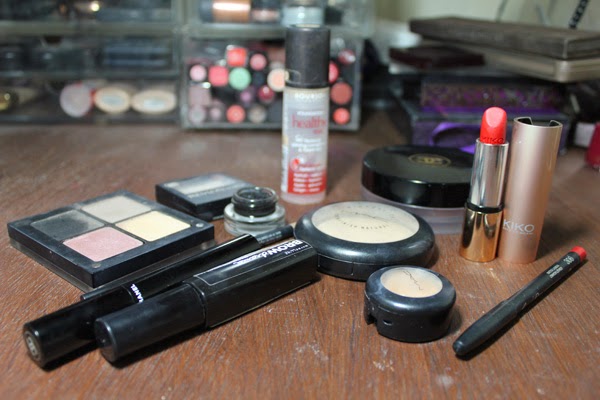
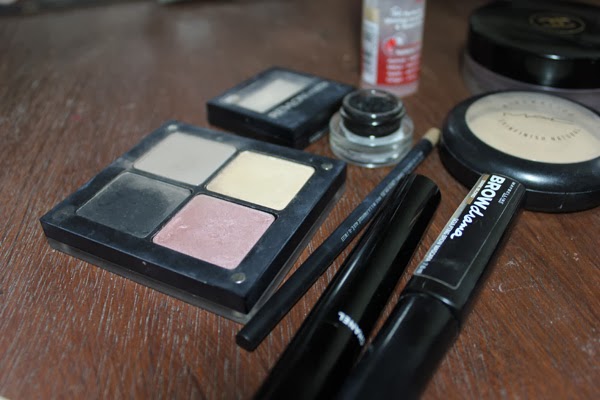

Working in a hospital means I don’t get the chance to top up my makeup throughout the day, and as I have oily skin I like to use products that keep me as matte as possible. On a daily basis, I start by prepping the skin – firstly, I use the Urban Decay De-Slick Makeup Setting Spray and then prime with the Rimmel Stay Matte Primer. I find the combination of these products has been the best base to apply makeup on top of. For foundation, I use the Mac Studio Fix Fluid in NC15, followed by concealing under the eyes and any blemishes with the Mac Pro Longwear Concealer also in NC15. This concealer is the only concealer I have tried that doesn’t crease under my eyes, and it stays put on my skin even at its oiliest. To set this all in place and to add a bit more coverage, I use the Mac Studio Fix Powder, again in NC15. To bring a bit of colour and subtle contouring to the face, I switch between the Body Shop Honey Bronze Bronzing Powder in Shade 03 and Nars Bronzing Powder in Laguna (not pictured above). My favourite everyday blush is the Tarte Amazonian Clay Blush in Exposed as I find it is natural enough for daytime when used with a light hand. To fill in my brows, I use the MUA Pro-Brow Ultimate Eyebrow Kit – the medium brown (top right) is the perfect shade for my brows. I used to use Mac Eyeshadow in Omega but I find the MUA option much more pigmented. I then set my brows with the Maybelline Brow Drama Sculpting Brow Mascara in Dark Blond. Finally, I curl my lashes and apply mascara. I use two different ones because most mascaras smudge on my lower lash line. My favourites are the Chanel Volume De Chanel Mascara for my upper lashes and the Clinique Bottom Lash Mascara as it doesn’t smudge or transfer throughout the day. As a final step, I like to use the setting spray once more, just to lock in all the makeup.


“When I’m not working, I like to add a little more excitement to my makeup. In terms of eyeshadow, I like a light shimmery colour on the lids. For this, one of my favourite combinations is the Make Up For Ever Aqua Cream in Shade 13 as a base and the Bare Minerals Nude Beach Eyeshadow. For a little definition, I like to take the bronzer I’ve used that day and blend into the crease of my eye. All three naked palettes are also my go-to eyeshadows. I love winged eye liner and for this I like the Bourjois Liner Pinceau Liquid Eyeliner – it is a nice matte black shade and it doesn’t transfer onto your brow bone. I also like to brighten my waterline with the Mac Chromographic Pencil in NC15/NW20. One of my favourite steps is highlighter, and for this I use the Chanel Poudre Signee De Chanel Illuminating Powder which I think was limited edition, but I love it because it has a very fine golden shimmer running throughout. For a more natural lip, my favourite is the Mac Lipglass in Nymphette as my all time favourite shade in lip gloss is pink with gold shimmer. For a brighter lip for spring and summer, I recently bought the Mac Lipstick in Full Fuchsia. This is great as it is not too matte but not too glossy, it wears really nicely and isn’t too drying.”

RachelElizabeth


Festive Makeup #2 | Christmas Day FOTD

Firstly, for all of those who celebrate, I hope you all had a lovely Christmas and ate your weight in gorgeous food – I sure did… Secondly, I really liked how my makeup turned out yesterday, and I used a few new beautiful products so I thought I would share with you my face of the day.

Face
Because I wanted my makeup to last all day I primed with the Hourglass Veil Mineral Primer and then used one of my favourite foundations of late – the Bourjois Healthy Mix Foundation (the old formula – I can’t comment on the current formula!). I then concealed withe the Mac Studio Finish Concealer and set it all with my gorgeous new Hourglass Ambient Lighting Powder in Dim Light  – will review this soon!

Eyes
I primed the eyes with the Urban Decay Primer Potion. I used the Charlotte Tilbury Colour-Coded Eyeshadow Palette in Dolce Vita on my eyes – I used the prime shade (a pale champagne) all over the lid, the smoke shade (a dark cool brown) on the outer corner and into the crease, and packed the pop shade (a gold glitter) on top on the prime shade. I then took a matte black, mine being from the Urban Decay Naked 2 Palette, and lined the upper lash line and smoked it out a little. I then curled my lashes and applied the Chanel Le Volume De Chanel Mascara.

Cheeks
I bronzed up the skin with Nars Bronzing Powder in Laguna, then highlighted with the Kevin Aucoin Celestial Powder in Candlelight. For blush, I went for the Tarte Amazonian Clay Blush in Exposed (sadly not available in the UK!) to keep the cheeks neutral and so they didn’t compete with the red lip.

Lips
For lips I used the Urban Decay Revolution Lipstick in F-Bomb, which is my first venture into this line, which I’ve been dying to try. Spoiler alert: this may be the start of a new addiction…


Gold and red are a classic combination for this time of year, but one that I think can work all year round. There were a lot of luxury products in this look that are heavily coveted in the blogging world, and I will make sure to let you know what I think after I’ve had a chance to work with them a bit longer.

Seeing as it’s Christmas, I want to take the opportunity to thank everyone who has supported my blog in this first month, and I am very excited and motivated for the months to come!

RachelElizabeth

The Naked 3 Weekender | Look 3

Sadly, we have come to an end of my three part series, but I thought I would end it with a bang with this dramatic smokey look. My attempt was to show the versatility of the palette and even though it is ‘rose-hued’ it doesn’t have to look overly pink. I fell in love with the colour Blackheart when I first saw it, and knew I had to include it in one of these looks. 

Look #3 – The Dramatic Smokey
I wanted the eyes to be really dark, so I started with the Urban Decay 24/7 Glide on Eye Pencil in Zero and put it all over my lid and blended out with a fluffy brush as a base for my eyeshadow. I then put the shade Nooner in the crease as a transition shade, and to keep the smokiness I used Darkside in between the black base and Nooner. I then packed Blackheart onto the lid, and the black base really helped the burgundy shimmer pop. For a bit of interest under the eye, I used the colour Buzz along the bottom lash line and Dust in the inner corner for some added brightness and sparkle. 

To add to smokiness of this look, I lined the upper and lower waterline with the Zero eyeliner I used as a base, and put a thin line of the Mac Fluidline in Blacktrack. As usual, I put heaps of the Chanel Volume de Chanel Mascara. For added drama, falsies would be a great touch. As I would wear this on a night out I contoured with Mac Powder Blush in Harmony (only available in mac pro stores) and used a little of the Mac Mineralize Blush in Warm Soul. I love pairing a nude with deep smokey eyes so that the look is all about the eyes so I chose the Tom Ford Lip Colour in Nude Vanille.


So that concludes The Naked 3 Weekender. I would definitely say that this palette is unique, and I think I will be creating infinite rose-hued looks with it. Is it a must have? For all you Naked and Urban Decay lovers out there it probably is. But for those of you who aren’t as Naked-fanatic as I am, I would suggest picking one up as they my favourite palettes I own. As for which one? If I had to choose, I would probably say that the original Naked Palette is my favourite, because the warm golden tones really suit my colouring.

RachelElizabeth 

The Naked 3 Weekender | Look 2


So today marks day 2 of my Naked 3 Weekender. This is the type of look I’ve been loving to wear on a daily basis recently, so I thought it made sense to create one out of Naked 3. I paired this with a semi-dark lip but I would definitely rock a vampy lip with this eye look. 


Look #2 – The Subtle Smokey Eye
I started with the Original Primer Potion sample that came with the palette, and  then put the light rosy-taupe shade Liar all over the lid and under the eyes. I then focused the next shade mugshot on the outer corner and half way into the crease. I then used Strange as a highlight under the brow.

To add to the smokiness of the look I lined the eyes with the Sleek Eau La La Liner in Molasses and smudged it with a pencil brush. I then applied, as usual, my Chanel Volume de Chanel Mascara. For a pretty plum flush on the cheeks I used Mac Powder Blush in Coygirl (which I love using with a  darker lip – and have just found out that this has been discontinued!). For the lips, I used the Rimmel Apocalips Lip Lacquer in Galaxy which is a light purply-plum colour.


If these last two looks have been a little too subtle for your tastes then don’t worry, I’ve got something you may enjoy in the final instalment of The Naked 3 Weekender coming up tomorrow… 

The Naked 3 Weekender | Look 1

Ever since Urban Decay announced even the name of this palette, it’s all anyone can talk about. If you’ve been living under a rock and haven’t heard of this palette or the Naked series from Urban Decay, may I present the beauty that is the Naked 3 Palette (£37 here) – the new offering of all brand new ‘rose-hued’ neutrals.

I’ve been playing with this palette for about a week now, and I will go ahead and say that I am in love. There are so many reviews and swatches of this palette so instead I thought I would give you 3 different looks I came up with everyday this weekend…

Look #1 – The Romantic


This look is very much focused on the rose-gold and lighter end of this palette. For this romantic look I started off by priming the eyes with the Eden Eye Shadow Primer Potion sample that came with the palette, and then packed Burnout on the inner two thirds of the lid, and the coppery Trick on the outer third. I took the lighter matte shade Limit and swept that in the crease to create some definition, and used the lightest shade Strange to highlight under the brow and the inner corners of the eyes. 

To finish off the eyes, I lined the eyes and did a slight wing with Mac Fluidline in Blacktrack and applied lashings of the Chanel Volume de Chanel Mascara. I bronzed up the skin with Nars Bronzing Powder in Laguna and applied Mac  Powder Blush in Pink Swoon for a light pink flush on the cheeks. For lips, I wanted a peachy nude so went for the Sleek Pout Paint in Minx


I really liked how this look turned out, and I can definitely see this becoming a go-to everyday eyeshadow combination. Tomorrows look – subtle smokey eye for everyday.

RachelElizabeth

Festive Makeup Look #1 | Quick Classic Glamour

We are now well into christmas party season so I thought I would do a series of festive makeup looks, suitable for lots of occasions. Today’s look is for those in a hurry, but still want to look glamorous. A classic red lip and winged liner combo is a look I turn to when I need to look nice fast, and it will make it look like you have put much more effort than you actually have. 

Base:
I started off with Bourjois Healthy Mix Foundation in 52 with a Real Techniques Expert Face Brush which gives me quick medium coverage, that isn’t completely matte but is one of those foundations that gives the look of a glow from within. I concealed under the eyes and on any blemishes with the Mac Studio Finish Concealer in NC20, then set everything with the Mac Mineralize Skinfinish Natural in Light Plus.

Eyes:
I first filled in my brows with the Mac Eye Brows in Fling and then set them in place with the Maybelline Brow Drama Sculpting Mascara in Dark Blonde. I primed the eyes with Urban Decay Eyeshadow Primer Potion and washed Revlon Matte Eyeshadow in Vintage Lace all over the lid and up to the brows to brighten. I believe this shade may have been discontinued, but any shadow a shade or two lighter than your skin tone will work fine. I then contoured my eye slightly with the Inglot Eyeshadow in Matte 349, and by sweeping a light taupey-grey through the crease gives subtle definition without requiring too much blending and effort. I then lined the eyes with Mac Fluidline in Blacktrack with a Sigma E10 Small Eye Liner Brush, and created a medium-sized flick (winged eyeliner post coming soon!). Finally, I curled the lashes and applied lots of the  Chanel Le Volume De Chanel Mascara.

Cheeks:
I contoured the cheeks with the Chanel Soleil Tan De Chanel Bronzing Makeup Base (and I do find this fine to apply over powder) and applied the Tarte Amazonian Clay Blush in Exposed (sadly not available in the UK), which is a great goes-with-anything blush especially for bright lips.

Lips:
I lined and filled in the lips completely with the Kiko Precision Lip Pencil in 306 Geranium Red and applied the Kiko Velvet Mat Satin Lipstick in 606 Fire Red. A completely Kiko lipstick wasn’t intentional, but they are two red lip products that I have been loving recently.

This look could easily be added to if you have more time – some false lashes and glitter would be good additions. Next up in this festive make up series will be a going out christmas look.


RachelElizabeth