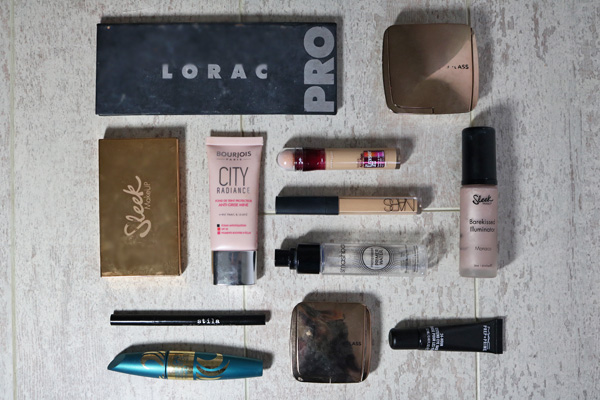
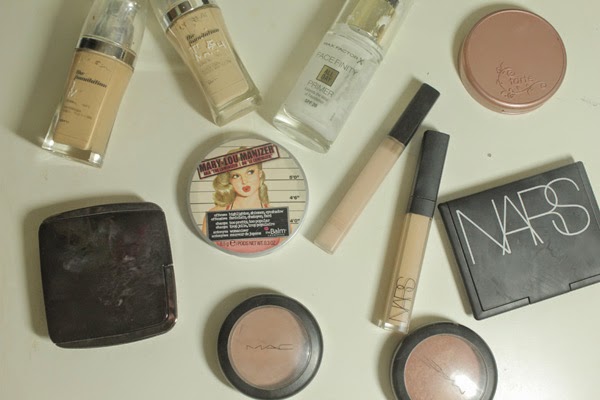
Nars do always produce the most swoonworthy palettes, don’t they? This is, surprisingly, my first palette from the brand, and ever since they announced that they were releasing it I knew it had to be mine. Continue reading for a full in-depth review and swatches of this beautiful palette…
A somewhat recent release from Nars were their Dual Intensity Eyeshadows. These were a pretty big release as they were eyeshadows that were marketed as a sheer wash of shadow when used dry and as an intensely pigmented product when used wet. When you use regular eyeshadows wet, the eyeshadow then becomes unusable unless you always use it wet as it creates a hardened film over where the water has touched it. These, however, promise that they are versatile enough that using them wet will not affect, or indeed ruin, the texture of the eyeshadow. The single versions of these will set you back £21, which is rather steep for only one shade. The Nars Dual Intensity Eyeshadow Palette is £45 for eight shades, and although the shadows are are slightly smaller (1g vs. 1.5g) it is actually far better value for money (£5.63/g vs. £14/g). All of these shades, with the exception of Ursa Major, are part of the permanent line as a single eyeshadow, so if you like, or would consider purchasing, more than two shades from this palette, then it is definitely worth the investment.
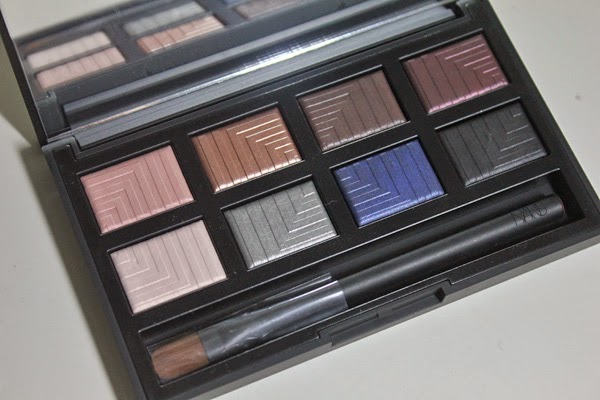
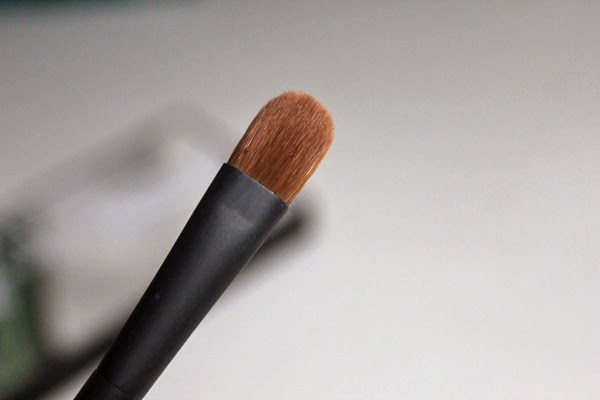
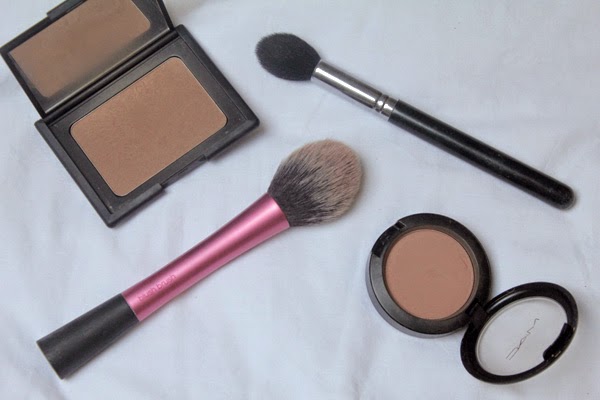
The packaging on this palette does feel really expensive. The top is mirrored which does attract fingerprints, but is much easier to wipe clean than the original rubberised packaging that Nars is infamous for. It is plastic but it feels very sturdy and protective of the shadows. The palette also comes with a travel size #49 Wet/Dry Eyeshadow brush, which I personally found much better to use when the shadows are wet as opposed to when they are dry. This is definitely a decent brush and not one that you should immediately disregard like many brushes that are included with palettes.
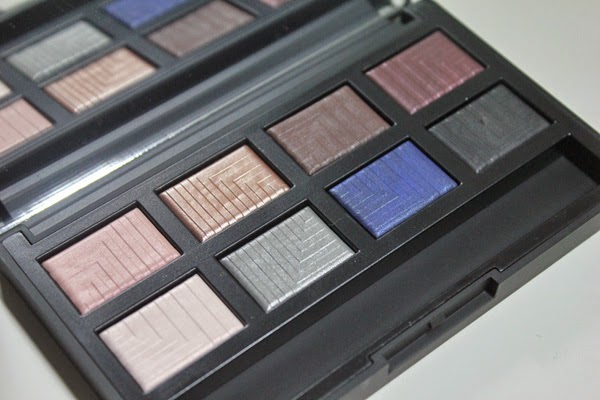
Top Row: Europe, Himalaia. Bottom Row: Andromeda, Lysithea
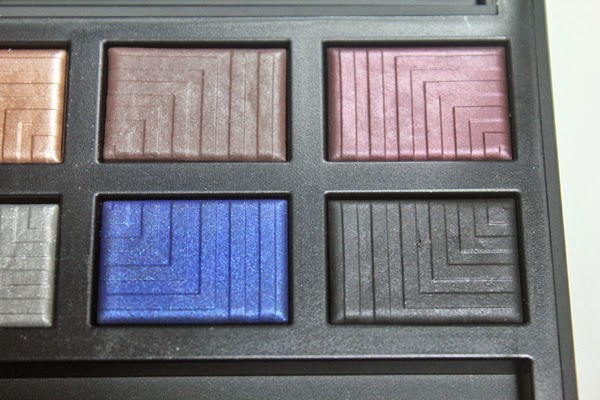
Top Row: Ursa Major, Subra. Bottom Row: Giove, Sycorax
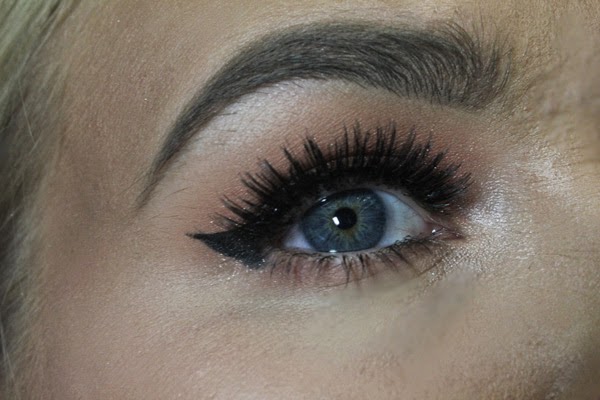
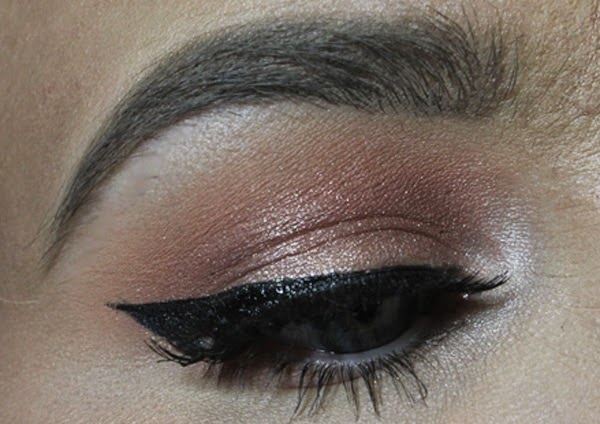
As for the eyeshadows themselves, there is varying quality throughout this palette. Some were definitely more pigmented than others, and there were some that needed to be used wet to have decent pay off.
Europa is described as a ‘Gossamer pink peach’. As you will be able to see in the swatches, this is pretty sheer when used dry, however it could be used as a pretty wash of colour all over the lid for a natural, understated eye look. It is still not the most pigmented when used wet, but it does leave a pretty iridescent pink sparkle.
Himalaia is described as a ‘Shimmering topaz’. This is probably my favourite shade in the palette as it is great both wet and dry. It is shimmery and pigmented when dry but becomes metallic and bold when wet. It is similar to Mac Tan Pigment in the sense that it’s a slightly rose gold-esque shade. Love.
Ursa Major is described as a ‘Chocolate glaze’. It is a cool-toned brown with silver shimmer. What is nice about this shade is that when it’s dry it can be used to build up intensity in the crease or the outer corner without being too intense, but when used wet it is a deep rich brown, perfect for smokey eyes or even to be used as a liner.
Subra is described as a ‘Black orchid’. When applied dry it is a deep blackened plum shade, which is semi-opaque, much like Ursa Major. But it transforms when it is used wet into a pigmented plum-toned purple. When used in the latter way, this is another of my favourite shades in the palette.
Andromeda is described as an ‘Alabaster’. Because I am quite fair, this barely shows up on my skin when it is used dry, except when it catches the light. It is another shade that really differs when used wet as it then becomes quite an intense, shimmery, slightly pink-toned white. This is a very versatile shade as it can be a very soft and subtle highlight or it could be really amped up to create a lot of drama and intensity and looks especially gorgeous on the inner corners of the eyes.
Lysithea is described as a ‘Shark grey’. When used dry it is a muted and sheer grey with an intense silver shimmer running throughout. It is fantastic when used wet as it is a metallic true silver. Although silver is not my favourite shade to wear, if I am ever in the mood to rock a silver smokey eye, this will 100% be my go-to.
Giove is described as a ‘Navy’. This is the brightest and arguably the most hard to wear shade of the palette, but it is truly quite stunning. It is much darker and smokier when used dry, which is great for those who are new to colour in their looks. For those who are far more daring and bold, it is a vibrant but deep navy shade when wet and would make for a stunning and striking blue makeup look. I can also see this working great as a liner for both the upper and lower water lines to add an unexpected pop of colour to your look without straying too far from black.
Sycorax, the final shade in the palette, is simply described as ‘black’. When used dry it is a really great black eyeshadow as it is not so pigmented that it is overwhelming. It is extremely opaque and intense when used wet, so would also be perfect as a liner, or if you were going for a really dark smokey eye this would be stunning.
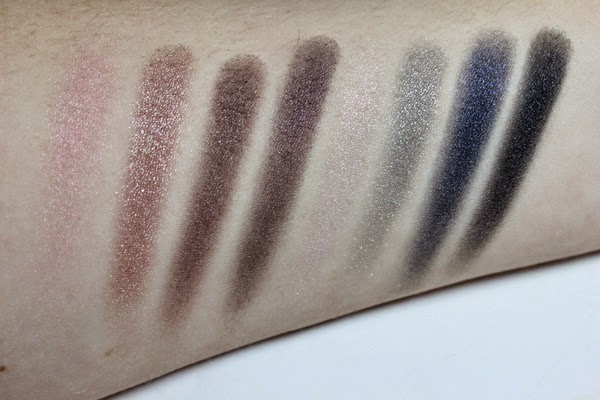
(Dry Swatches)
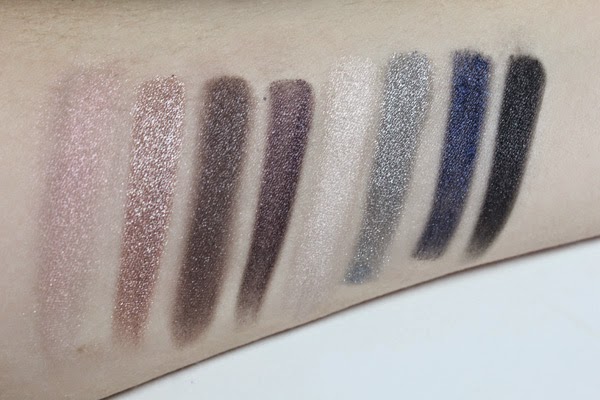
(Wet Swatches)
I am absolutely in love with this palette, and it is definitely something a little different than the average. The wet/dry formula may mean that it takes a little longer than usual to apply your eyeshadow, but trust me, it is worth it. This is limited edition so if you like the look of this, make sure you snap it up fast! What do you think of the palette? Is it something that you would splurge on?
–RachelElizabeth