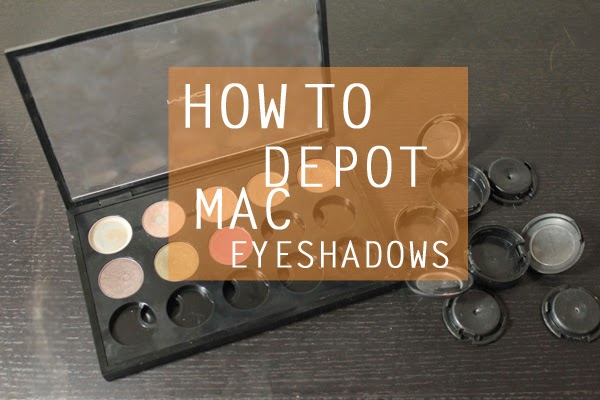
As I mentioned in my Top Mac Eyeshadows post, I have been meaning to depot my Mac collection for the longest time. I found that I just wasn’t reaching for the individual pots, so I wanted to be able to store them all together. It is also a lot cheaper to buy the shadows in the pan form, so making a palette is also a great investment. Keep reading for a step by step tutorial on how to depot your shadows…
- Baking/parchment paper
- Straighteners
- Something sharp (I used nail scissors but a sharp knife would also work)
- Self adhesive magnets or magnet tape (I bought mine off Amazon here)
- A Mac palette or Z palette
Step 1
Be very careful for this first step! Use your sharp scissors or knife and wedge it into the ridge labelled in the picture above. This should then lift up and you can remove it from the outer casing. This step was easier in some eyeshadows than others, but with practice you’ll get the hang of it in no time.
Step 2
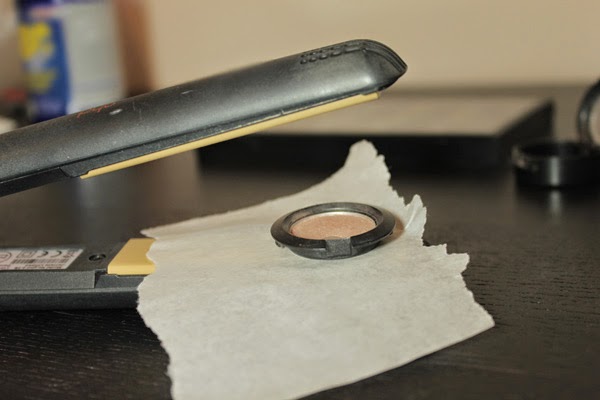
Turn on your straighteners and place a small piece of the baking paper on top of them. Once they are heated up, place your eyeshadow directly on top of the paper and leave to sit for about 30 seconds. The purpose of this step is to slightly melt the plastic casing and the glue holding the shadow in place.
Step 3
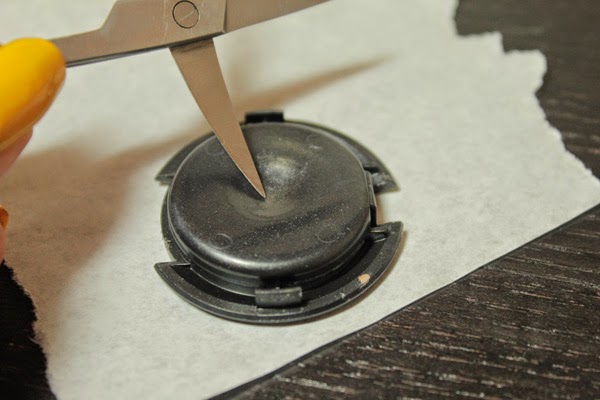
Once you see a dip in the middle of the plastic casing as above, carefully remove the shadow from the straightener and place it face down on some baking paper. Then take your sharp tool and push it directly in the middle. If it is extremely difficult to pierce the plastic, place it back on the straightener for a little longer.
Step 4
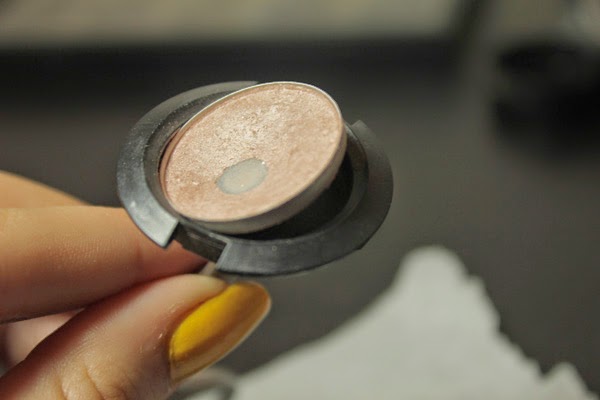
Once your knife or scissors have broken through the plastic, the eyeshadow pan should lift away from the plastic like so. Carefully place the eyeshadow face down on the baking paper. The bottom of the pan, where the glue holding the eyeshadow in place was, will be extremely hot.
Step 5
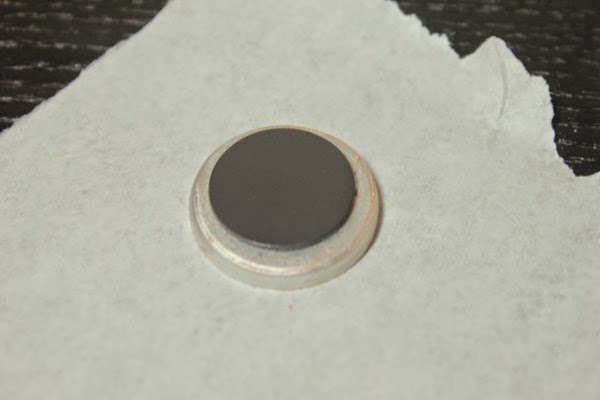
Once you have left the pan to cool slightly, now it is time to place your magnet. I recommend buying small self-adhesive magnets like the ones that I have used as they were really easy to apply and are just a bit smaller than the pans, making them the perfect size.
Step 6
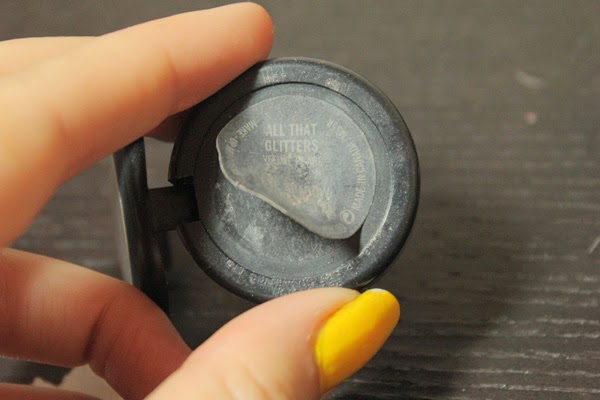
Now it is time to label your shadow. You can either make your own new labels or simply take them off of the old shadow pots. I found that with most of my eyeshadows, the labels peeled off really easily, and they were sticky enough to place directly over the magnet. However, if you’re having trouble adhering them to the pan, I suggest using glue or any other adhesive.
And there you have it! A fully depotted Mac eyeshadow. I was expecting this to be a lot harder, but it is surprisingly simple to get the hang of it. If you’re looking to follow a video tutorial, I found Marlena from Makeup Geek’s to be very helpful (here). I hope you found this somewhat useful, and have fun creating your own Mac Palette!

