Hourglass always have products that I’m pining for – their releases send the blogging world into a frenzy and it seems like everyone and their mother is loving something from them right now. I’ll say this as a warning: this is an expensive brand, especially here in the UK. But the products that I have tried are incredible. Today I bring you one of their foundations – oily girls, listen up…
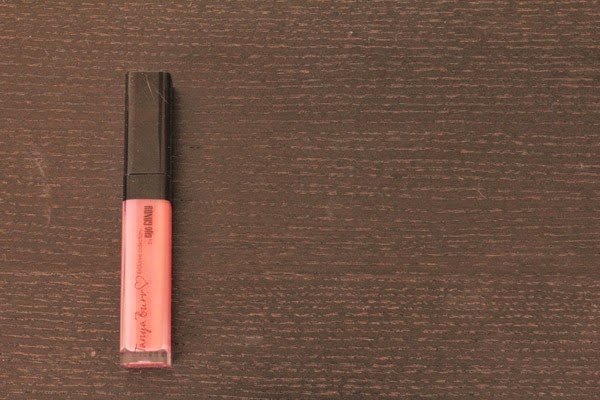
Hourglass Immaculate Liquid Powder Foundation
Claims:
Consider Immaculate the miracle foundation for oily skin. This breakthrough liquid to powder formula absorbs oil, camouflages imperfections, and delivers a long-lasting velvet matte finish—without the need for touch-ups. In a consumer study, Immaculate’s advanced formula was shown to target oily, acne-prone skin.
Side note – the claims list is quite lengthy on the Hourglass website. Read more about what the brand has to say about this foundation here.
Verdict
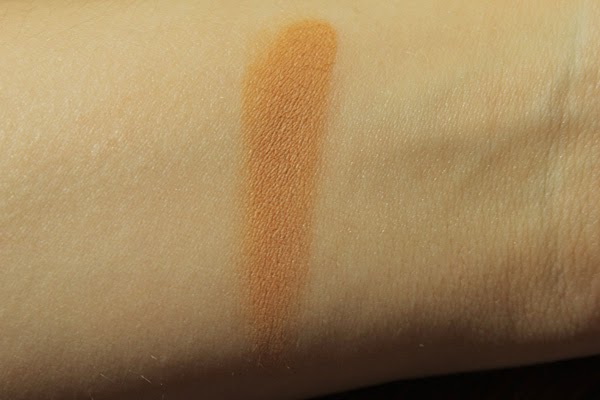
First off, this is an absolute godsend for oily skin. I have struggled with foundations staying on my skin for years and this is by far the best I have found. What I like a lot about this foundation is that it isn’t too thick or too full coverage like many of the foundations targeting oily skin (Estee Lauder Double Wear or Revlon Colorstay for example). It provides a medium coverage and is surprisingly buildable – when I first tried it I expected it to start looking cakey but somehow it doesn’t. The lasting power is pretty impressive – I can easily expect this to last a full day without touching up, but as with all foundations I find it performs better with the usual precautions: primer, powder, setting spray etc. It has a slightly mousse-like texture and dries to a powder finish. It contains no SPF, meaning it will have no flashback in photography. I found that in flash photography it looks great, so would be great for a night out.
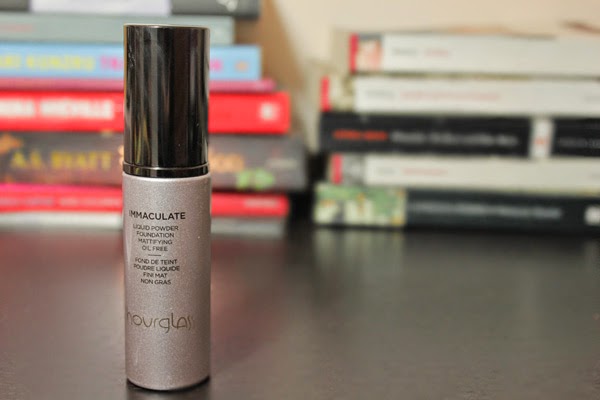
In terms of packaging, it is just what you would expect from a product from Hourglass; the signature gunmetal in the lid and the gorgeous slightly shimmery silver bottle. The pump is great – it dispenses a nice amount of product and keeps it sanitary which is ideal for a foundation targeted towards acne-prone skin.
However, there are some negative aspects of this foundation that I need to address. Little does not go a long way with this product. I find myself having to use multiple pumps to cover my entire face and with such an expensive product like this that is a little bit worrying. It comes with the standard amount of foundation (30ml/1 fl.oz) so you aren’t getting much product for your money. You should definitely steer away from this if you have dry skin – it isn’t as bad as some foundations on highlighting dry patches but it isn’t going to do them any favours.
In terms of the skin benefits that the website claim it to have, I can’t comment. I bought this in my natural skin tone, and I only use this in between self tanning. It is interesting though that many women have claimed that their skin improved in terms of oiliness, blemishes and texture after using this foundation for 4 weeks – I can definitely say that I have not had any adverse reactions and it hasn’t broken me out.
All in all, if you have oily skin and you really struggle finding a foundation that will wear well on you, I would highly recommend saving up and giving this a go. If you live near an hourglass counter, or the next time you go in, definitely ask for a sample as it is an extremely pricey purchase. Next on my hourglass wish list are the ambient lighting blushes – how have I not purchased any yet??
–RachelElizabeth