Mac Velvet Teddy | Review and Swatches

I, just like everyone else right now, am loving Kylie Jenner, especially her makeup. She and many other celebrities are bring back the 90s in a big way, and these darker matte nude lips are everywhere at the moment. When Debenhams had the offer for £5 off any lipstick to celebrate national lipstick day, I decided to take the plunge and order this which has been the top of my wishlist for quite some time now…


Mac Velvet Teddy Lipstick is described as a ‘Deep-tone beige’ with a matte finish. It is definitely on the brown side of nude, and for my skin tone (currently around NC25) it is a dark nude. As far as the formula goes, it isn’t as drying as some matte lipsticks can be. It is in no way hydrating for the lips, but I don’t find that it dries out the lips particularly. It applies incredibly creamy and smooth, and is comfortable to wear. The great thing about a matte finish is the longevity; even though this is a lighter colour, the wear time is still very good. I would say that this lasts around 4-6 hours on me, depending on eating and drinking habits, and with lipliner, this will stick around most of the day. A lipliner I would recommend that is practically the same shade is the Kiko Precision Lip Pencil in 300 Caffe Latte.


I’ve been gravitating towards lighter lips rather than my usual love for bold lips, so expect many more blog posts on all the new lipsticks I’ve been picking up! Are you into this dark nude trend?

RachelElizabeth

How To Depot Mac Eyeshadows

As I mentioned in my Top Mac Eyeshadows post, I have been meaning to depot my Mac collection for the longest time. I found that I just wasn’t reaching for the individual pots, so I wanted to be able to store them all together. It is also a lot cheaper to buy the shadows in the pan form, so making a palette is also a great investment. Keep reading for a step by step tutorial on how to depot your shadows…

What you will need:

  • Baking/parchment paper
  • Straighteners
  • Something sharp (I used nail scissors but a sharp knife would also work)
  • Self adhesive magnets or magnet tape (I bought mine off Amazon here)
  • A Mac palette or Z palette 


Step 1
Be very careful for this first step! Use your sharp scissors or knife and wedge it into the ridge labelled in the picture above. This should then lift up and you can remove it from the outer casing. This step was easier in some eyeshadows than others, but with practice you’ll get the hang of it in no time.


Step 2
Turn on your straighteners and place a small piece of the baking paper on top of them. Once they are heated up, place your eyeshadow directly on top of the paper and leave to sit for about 30 seconds. The purpose of this step is to slightly melt the plastic casing and the glue holding the shadow in place.


Step 3
Once you see a dip in the middle of the plastic casing as above, carefully remove the shadow from the straightener and place it face down on some baking paper. Then take your sharp tool and push it directly in the middle. If it is extremely difficult to pierce the plastic, place it back on the straightener for a little longer. 


Step 4
Once your knife or scissors have broken through the plastic, the eyeshadow pan should lift away from the plastic like so. Carefully place the eyeshadow face down on the baking paper. The bottom of the pan, where the glue holding the eyeshadow in place was, will be extremely hot.


Step 5
Once you have left the pan to cool slightly, now it is time to place your magnet. I recommend buying small self-adhesive magnets like the ones that I have used as they were really easy to apply and are just a bit smaller than the pans, making them the perfect size. 


Step 6
Now it is time to label your shadow. You can either make your own new labels or simply take them off of the old shadow pots. I found that with most of my eyeshadows, the labels peeled off really easily, and they were sticky enough to place directly over the magnet. However, if you’re having trouble adhering them to the pan, I suggest using glue or any other adhesive. 


And there you have it! A fully depotted Mac eyeshadow. I was expecting this to be a lot harder, but it is surprisingly simple to get the hang of it. If you’re looking to follow a video tutorial, I found Marlena from Makeup Geek’s to be very helpful (here). I hope you found this somewhat useful, and have fun creating your own Mac Palette!

Inside My Sister’s Makeup Bag

Introducing to RachelElizabeth, fellow beauty addict and my older sister Charli. We both started watching YouTube at around the same time (a long long time ago), and she, much like myself, has a rather large beauty stash. I’ve wanted to include her on the blog for a while, and as she often travels back home to visit I thought there was no better introduction than having a nose in her makeup bag. She is a Physiotherapist, so I asked her if she could explain the makeup that she wears on an everyday basis, and, of course, the fun things she adds to spruce it up on the weekends.


Working in a hospital means I don’t get the chance to top up my makeup throughout the day, and as I have oily skin I like to use products that keep me as matte as possible. On a daily basis, I start by prepping the skin – firstly, I use the Urban Decay De-Slick Makeup Setting Spray and then prime with the Rimmel Stay Matte Primer. I find the combination of these products has been the best base to apply makeup on top of. For foundation, I use the Mac Studio Fix Fluid in NC15, followed by concealing under the eyes and any blemishes with the Mac Pro Longwear Concealer also in NC15. This concealer is the only concealer I have tried that doesn’t crease under my eyes, and it stays put on my skin even at its oiliest. To set this all in place and to add a bit more coverage, I use the Mac Studio Fix Powder, again in NC15. To bring a bit of colour and subtle contouring to the face, I switch between the Body Shop Honey Bronze Bronzing Powder in Shade 03 and Nars Bronzing Powder in Laguna (not pictured above). My favourite everyday blush is the Tarte Amazonian Clay Blush in Exposed as I find it is natural enough for daytime when used with a light hand. To fill in my brows, I use the MUA Pro-Brow Ultimate Eyebrow Kit – the medium brown (top right) is the perfect shade for my brows. I used to use Mac Eyeshadow in Omega but I find the MUA option much more pigmented. I then set my brows with the Maybelline Brow Drama Sculpting Brow Mascara in Dark Blond. Finally, I curl my lashes and apply mascara. I use two different ones because most mascaras smudge on my lower lash line. My favourites are the Chanel Volume De Chanel Mascara for my upper lashes and the Clinique Bottom Lash Mascara as it doesn’t smudge or transfer throughout the day. As a final step, I like to use the setting spray once more, just to lock in all the makeup.


“When I’m not working, I like to add a little more excitement to my makeup. In terms of eyeshadow, I like a light shimmery colour on the lids. For this, one of my favourite combinations is the Make Up For Ever Aqua Cream in Shade 13 as a base and the Bare Minerals Nude Beach Eyeshadow. For a little definition, I like to take the bronzer I’ve used that day and blend into the crease of my eye. All three naked palettes are also my go-to eyeshadows. I love winged eye liner and for this I like the Bourjois Liner Pinceau Liquid Eyeliner – it is a nice matte black shade and it doesn’t transfer onto your brow bone. I also like to brighten my waterline with the Mac Chromographic Pencil in NC15/NW20. One of my favourite steps is highlighter, and for this I use the Chanel Poudre Signee De Chanel Illuminating Powder which I think was limited edition, but I love it because it has a very fine golden shimmer running throughout. For a more natural lip, my favourite is the Mac Lipglass in Nymphette as my all time favourite shade in lip gloss is pink with gold shimmer. For a brighter lip for spring and summer, I recently bought the Mac Lipstick in Full Fuchsia. This is great as it is not too matte but not too glossy, it wears really nicely and isn’t too drying.”

RachelElizabeth


Mac Peach Blossom & Back to Mac Explained

Mac is by far my go-to brand for lipsticks. Their amazing range of colours and finishes means that there is something for everyone, from the most daring to the natural-beauty lovers (check out my favourites here). In case you weren’t aware, Mac offer a scheme called ‘Back to Mac’ which allows you to give back old and finished items in exchange for a lipstick. Over the years I have managed this many times, and is a great way to recycle and to try out new shades.

So what is Back to Mac? 

Back to Mac is a program that encourages recycling of Mac products. Once you finish up 6 products in their primary packaging, you can take them into your local store or counter and exchange them for a free lipstick of your choice (I think some stores also offer an eyeshadow or lipgloss). Think of it like a coffee shop loyalty card…

Recently I finished 6 products (4 brow pencils, brush cleanser and a studio fix concealer, to be exact) and I took them all to a mac store and exchanged them for Peach Blossom. Mac describes this shades as a ‘frosty cool nude’, which I don’t feel is a fitting description. For me this is a natural light peachy-pink shade, perfect for everyday. It has a cremesheen finish, but unlike others that I own, it has a lot less pigmentation. It still has the same creamy consistency, and glides along the lips, but it is quite sheer. For me, this makes it even more wearable as it’s a low maintenance lipstick that isn’t going to take too much trouble topping up throughout the day. Although I have many lipsticks, missing from my collection was the perfect every day shade, and I think this may have just filled that void. This would also be a great one to pair with smokey or heavy eye make up to keep everything balanced. 


So the next time you go to throw away your Mac foundation, think twice. Holding on to your products can feel a little crazy like you’re hoarding rubbish, but the free lipstick is 100% worth it. What’s the next lipstick on your wish list?

RachelElizabeth

3 Orange Lips

Lipsticks are definitely my thing – if you hadn’t noticed in the background of most of my pictures, I have several drawers full to the brim of them. I will wear pretty much any colour, but when it comes to bold lips – and especially because summer is approaching – I tend to gravitate towards orange tones. I find they look great with a tan, and really bring out the blue in my eyes. I think there is an orange lip out there for everyone, from the bright lipstick-phobes to the bold lipstick obsessives. Today I bring you three of my favourites, from the sheer to the in-your-face loud orange.

Let’s begin with the sheerest of the three. The release of the Lip Butters sent the blogging world into a frenzy, and everyone couldn’t get enough of these. This is a slightly newer shade of the bunch, and is a sheer yet bright orange. The formula of these is really great – they apply with the feeling of a lip balm and are really comfortable on the lips. However, unlike some other tinted lip balms, they still deposit a decent amount of colour on the lips. If you’re a little afraid of orange lipsticks then this would be a good place to start. You’re not quite committing to the full-blown bright lip, but it leaves a nice sheer wash of orange. This is a great low maintenance option that you can throw on in the morning and not have to worry too much about it. 


If you are a lover of red lipsticks but you’re not quite ready for a full blown orange lip, then an orange-toned red may be one to try. The Velvet Matte Lip Pencils – another product everyone loves – are amazingly formulated. If you love a matte lip then you need one in your collection. The pencil form makes it so easy to apply, they are so creamy and pigmented and best of all, unlike some matte formulas, they don’t dry out your lips. Red Square is a really vibrant orange-toned red which is perfect for the summer months. This shade is a nice modern twist on the classic red lip, and is another one that will suit so many different skin tones.


I mentioned this lipstick in my top Mac lipsticks post here, and it is one of my favourite and go-to bright lips. It is probably one of the most famous orange lipsticks, and is definitely worth the hype. This is definitely not for the faint-hearted – it is described as a ‘loudmouth orange’ for a reason. It is a bright orange with a slight red undertone, making it easy to wear. The formula on this is beautiful – it has the right amount of moisture to make it comfortable, but it is still extremely pigmented and long-lasting. If you want to go all out, this is one you have to have.


(Apologies for the inconsistencies in lighting – I couldn’t quite get Morange to show up true to life, so I used the picture from my previous post!)

If you liked the format of this post, I have also showcased three of my favourite red lipsticks here. I’m sure that I will do the same with all my other favourite lip colours to wear…

RachelElizabeth

Festive Makeup #2 | Christmas Day FOTD

Firstly, for all of those who celebrate, I hope you all had a lovely Christmas and ate your weight in gorgeous food – I sure did… Secondly, I really liked how my makeup turned out yesterday, and I used a few new beautiful products so I thought I would share with you my face of the day.

Face
Because I wanted my makeup to last all day I primed with the Hourglass Veil Mineral Primer and then used one of my favourite foundations of late – the Bourjois Healthy Mix Foundation (the old formula – I can’t comment on the current formula!). I then concealed withe the Mac Studio Finish Concealer and set it all with my gorgeous new Hourglass Ambient Lighting Powder in Dim Light  – will review this soon!

Eyes
I primed the eyes with the Urban Decay Primer Potion. I used the Charlotte Tilbury Colour-Coded Eyeshadow Palette in Dolce Vita on my eyes – I used the prime shade (a pale champagne) all over the lid, the smoke shade (a dark cool brown) on the outer corner and into the crease, and packed the pop shade (a gold glitter) on top on the prime shade. I then took a matte black, mine being from the Urban Decay Naked 2 Palette, and lined the upper lash line and smoked it out a little. I then curled my lashes and applied the Chanel Le Volume De Chanel Mascara.

Cheeks
I bronzed up the skin with Nars Bronzing Powder in Laguna, then highlighted with the Kevin Aucoin Celestial Powder in Candlelight. For blush, I went for the Tarte Amazonian Clay Blush in Exposed (sadly not available in the UK!) to keep the cheeks neutral and so they didn’t compete with the red lip.

Lips
For lips I used the Urban Decay Revolution Lipstick in F-Bomb, which is my first venture into this line, which I’ve been dying to try. Spoiler alert: this may be the start of a new addiction…


Gold and red are a classic combination for this time of year, but one that I think can work all year round. There were a lot of luxury products in this look that are heavily coveted in the blogging world, and I will make sure to let you know what I think after I’ve had a chance to work with them a bit longer.

Seeing as it’s Christmas, I want to take the opportunity to thank everyone who has supported my blog in this first month, and I am very excited and motivated for the months to come!

RachelElizabeth

The Naked 3 Weekender | Look 3

Sadly, we have come to an end of my three part series, but I thought I would end it with a bang with this dramatic smokey look. My attempt was to show the versatility of the palette and even though it is ‘rose-hued’ it doesn’t have to look overly pink. I fell in love with the colour Blackheart when I first saw it, and knew I had to include it in one of these looks. 

Look #3 – The Dramatic Smokey
I wanted the eyes to be really dark, so I started with the Urban Decay 24/7 Glide on Eye Pencil in Zero and put it all over my lid and blended out with a fluffy brush as a base for my eyeshadow. I then put the shade Nooner in the crease as a transition shade, and to keep the smokiness I used Darkside in between the black base and Nooner. I then packed Blackheart onto the lid, and the black base really helped the burgundy shimmer pop. For a bit of interest under the eye, I used the colour Buzz along the bottom lash line and Dust in the inner corner for some added brightness and sparkle. 

To add to smokiness of this look, I lined the upper and lower waterline with the Zero eyeliner I used as a base, and put a thin line of the Mac Fluidline in Blacktrack. As usual, I put heaps of the Chanel Volume de Chanel Mascara. For added drama, falsies would be a great touch. As I would wear this on a night out I contoured with Mac Powder Blush in Harmony (only available in mac pro stores) and used a little of the Mac Mineralize Blush in Warm Soul. I love pairing a nude with deep smokey eyes so that the look is all about the eyes so I chose the Tom Ford Lip Colour in Nude Vanille.


So that concludes The Naked 3 Weekender. I would definitely say that this palette is unique, and I think I will be creating infinite rose-hued looks with it. Is it a must have? For all you Naked and Urban Decay lovers out there it probably is. But for those of you who aren’t as Naked-fanatic as I am, I would suggest picking one up as they my favourite palettes I own. As for which one? If I had to choose, I would probably say that the original Naked Palette is my favourite, because the warm golden tones really suit my colouring.

RachelElizabeth 

The Naked 3 Weekender | Look 2


So today marks day 2 of my Naked 3 Weekender. This is the type of look I’ve been loving to wear on a daily basis recently, so I thought it made sense to create one out of Naked 3. I paired this with a semi-dark lip but I would definitely rock a vampy lip with this eye look. 


Look #2 – The Subtle Smokey Eye
I started with the Original Primer Potion sample that came with the palette, and  then put the light rosy-taupe shade Liar all over the lid and under the eyes. I then focused the next shade mugshot on the outer corner and half way into the crease. I then used Strange as a highlight under the brow.

To add to the smokiness of the look I lined the eyes with the Sleek Eau La La Liner in Molasses and smudged it with a pencil brush. I then applied, as usual, my Chanel Volume de Chanel Mascara. For a pretty plum flush on the cheeks I used Mac Powder Blush in Coygirl (which I love using with a  darker lip – and have just found out that this has been discontinued!). For the lips, I used the Rimmel Apocalips Lip Lacquer in Galaxy which is a light purply-plum colour.


If these last two looks have been a little too subtle for your tastes then don’t worry, I’ve got something you may enjoy in the final instalment of The Naked 3 Weekender coming up tomorrow… 

The Naked 3 Weekender | Look 1

Ever since Urban Decay announced even the name of this palette, it’s all anyone can talk about. If you’ve been living under a rock and haven’t heard of this palette or the Naked series from Urban Decay, may I present the beauty that is the Naked 3 Palette (£37 here) – the new offering of all brand new ‘rose-hued’ neutrals.

I’ve been playing with this palette for about a week now, and I will go ahead and say that I am in love. There are so many reviews and swatches of this palette so instead I thought I would give you 3 different looks I came up with everyday this weekend…

Look #1 – The Romantic


This look is very much focused on the rose-gold and lighter end of this palette. For this romantic look I started off by priming the eyes with the Eden Eye Shadow Primer Potion sample that came with the palette, and then packed Burnout on the inner two thirds of the lid, and the coppery Trick on the outer third. I took the lighter matte shade Limit and swept that in the crease to create some definition, and used the lightest shade Strange to highlight under the brow and the inner corners of the eyes. 

To finish off the eyes, I lined the eyes and did a slight wing with Mac Fluidline in Blacktrack and applied lashings of the Chanel Volume de Chanel Mascara. I bronzed up the skin with Nars Bronzing Powder in Laguna and applied Mac  Powder Blush in Pink Swoon for a light pink flush on the cheeks. For lips, I wanted a peachy nude so went for the Sleek Pout Paint in Minx


I really liked how this look turned out, and I can definitely see this becoming a go-to everyday eyeshadow combination. Tomorrows look – subtle smokey eye for everyday.

RachelElizabeth

Best of Mac | My Top Eyeshadows

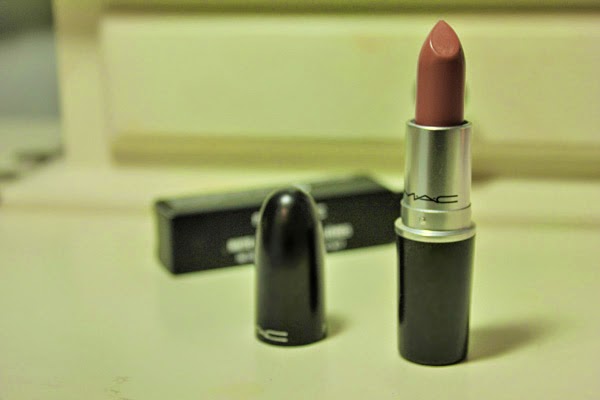
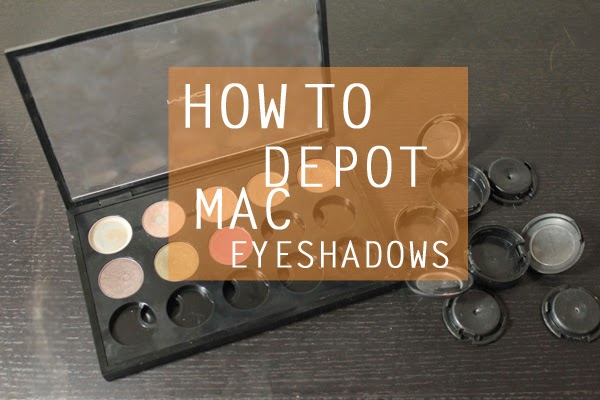
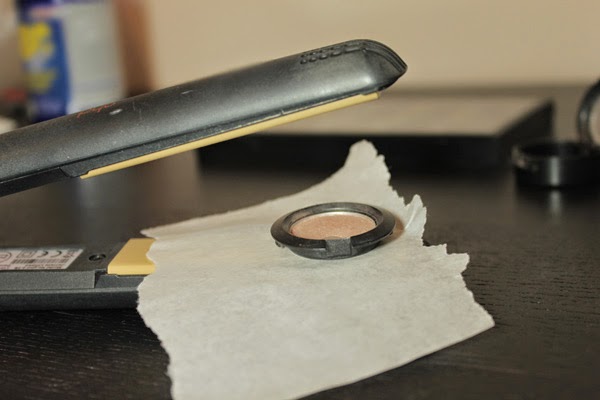
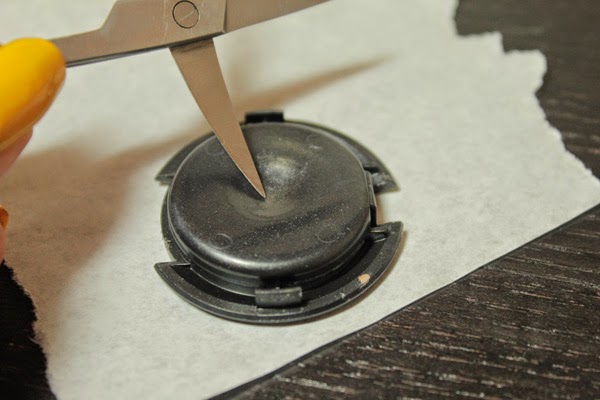
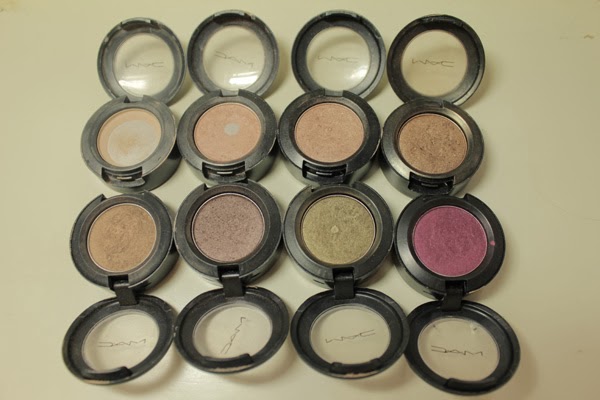
So this is my second instalment of my Best of Mac series – read all about my favourite lipsticks here. Mac’s range of eyeshadows is very similar to that of their lipsticks; they pretty much have every shade you could imagine. When I’m in store I tend to gravitate towards the shades I already have without realising, so that often makes me think I’ve got most of them right. The eyeshadows in pot form as shown above are £12.50 here. I keep telling myself that I will depot all of these and put them in a palette so that I can buy them in pan form from now on. Expect a blog post when I eventually get round to that…

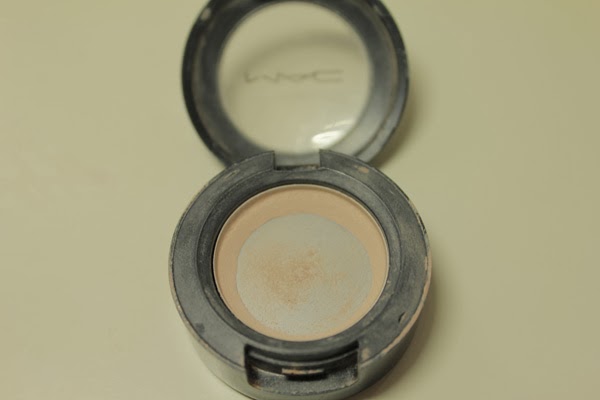
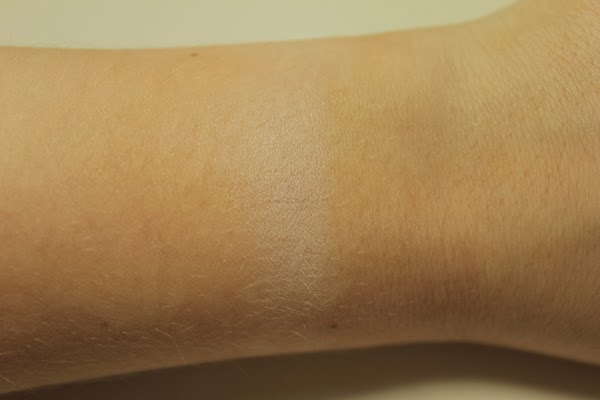
Brule is described as a ‘soft creamy beige’ with a satin finish. This, as you can see, was very difficult to swatch and photograph – 1) because I have very little left, and 2) it is very close to my skin tone. I think the amount of pan I have hit is a testament to how much I use and love this eyeshadow. I like to use it as a base all over the lid and up to the brow which makes eyeshadows put over the top so much easier to blend. It is also really handy to help blend harsh lines in the crease to make it seamless up to the brow. I really recommend, if you haven’t already, investing in an eyeshadow close to your skin tone for all the above reasons.

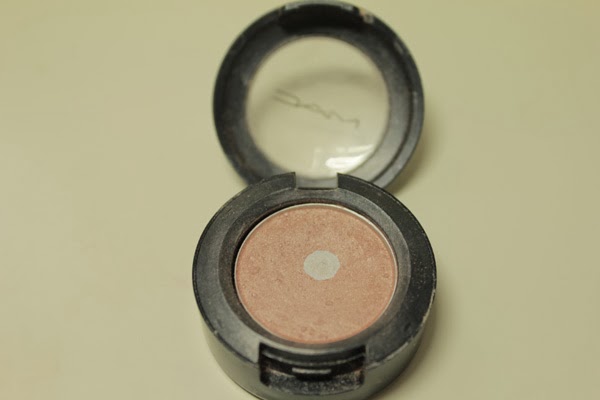
Naked Lunch is described as a ‘minimal pink with shimmer’ with a frost finish. This is a very talked-about eyeshadow in the blogging and youtube worlds, and is another of my favourites. I love putting this all over the lid for an everyday look, or smoking it up with darker shades. It isn’t overly sparkly, but it is nicely frosted and creates a nice sheen on the lids. This is a must have for any neutral eyeshadow lovers.

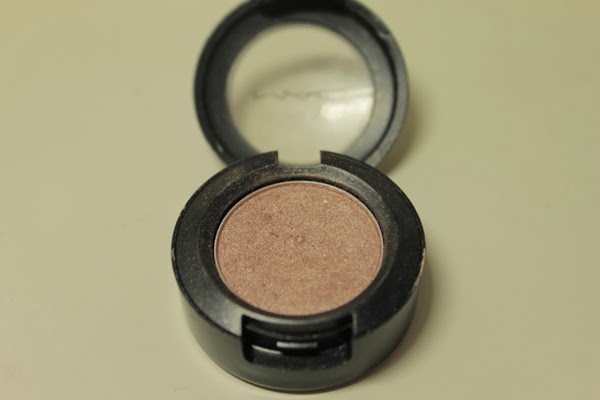
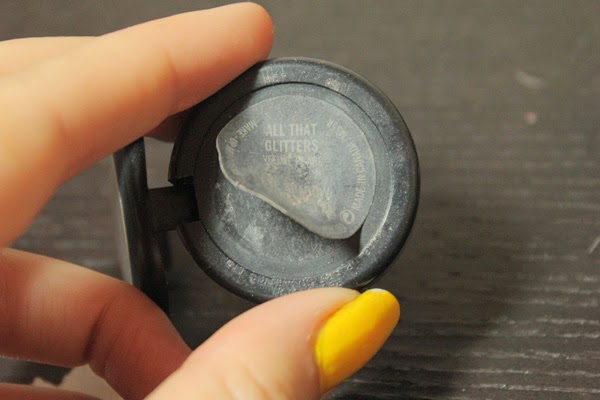
All That Glitters is described as a ‘beige with gold pearl’ with a  veluxe pearl finish. This is another very hyped up shadow, and probably because of Ellie ‘Allthatglitters21’ on youtube, and several other bloggers and you tubers that all swoon over this eyeshadow. I really like this shadow, but, especially when I’m pale, I can find this difficult to wear. It sometimes comes up a bit too orange on me, so I have to pair it with a less warm shadow in the crease. Veluxe pearl is my favourite finish though – they are incredibly pigmented and smooth, and have really pretty sheen running throughout. I think this shadow would work very similar to Naked Lunch and would look incredible on medium skin tones (I love this when I’m tanned!).


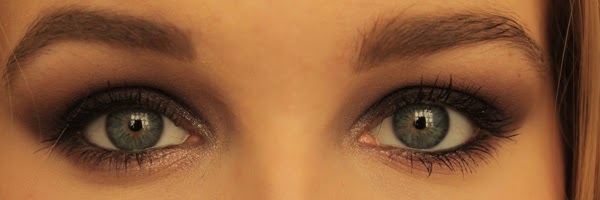
Woodwinked is described as a ‘warm antique gold’ with a veluxe pearl finish. If you have blue eyes and don’t have this colour, you need this in your life! This brings out the blue in my eyes so much and I find it really flattering. It’s one of those versatile shades that you can put all over the lid and blend slightly in the crease and it looks like you’re wearing two different colours with minimal effort. This is also a go-to for me for smokey eyes as it really glams up any look. Like All That Glitters, this looks better on when I am more tanned, as it can lean a little orange. But it’s so beautiful I wear it regardless!


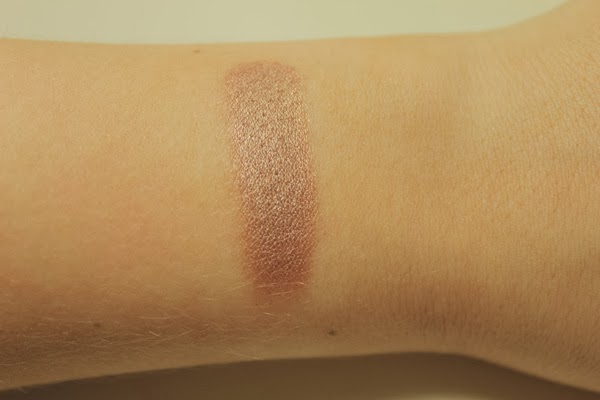
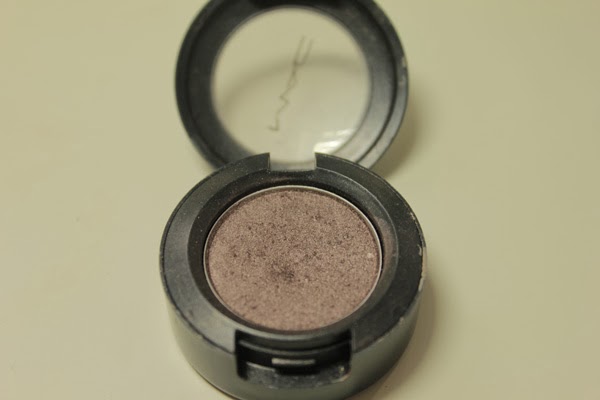
Patina is described as a ‘taupe brown with a golden pearl’ with a frost finish. I find the combination of the cool base colour with the shot of warm flecks throughout make this shade really unique. It’s a shade like Woodwinked where it is very versatile, and I often wear this shade all by itself. It doesn’t look very exciting in the pan, but on the eyes this is such a flattering colour, and it isn’t overly shimmery. One of my all time favourite eyeshadow looks is wearing this on the lid and putting Satin Taupe (up next!) in the crease.


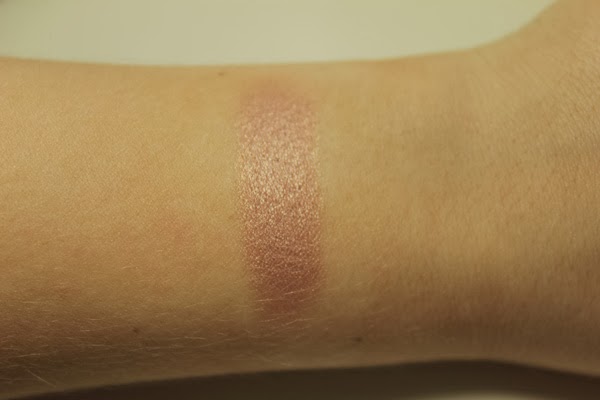
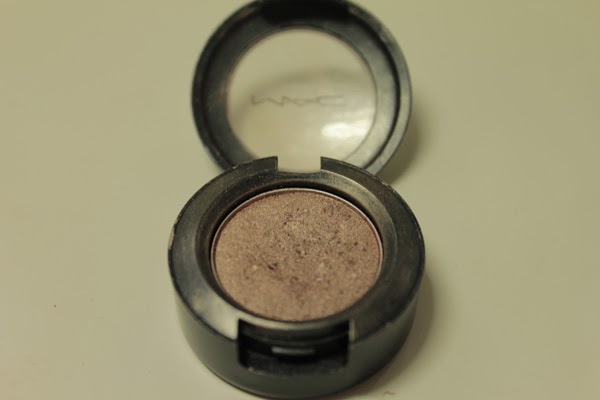
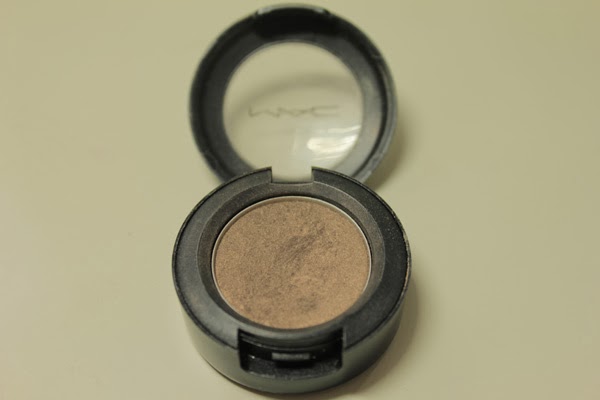
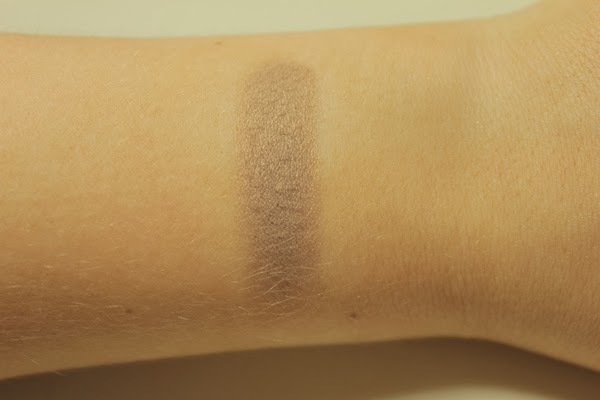
Satin Taupe is described as a ‘taupe with silver shimmer’ with a frost finish. This is another cult shade and is definitely up there for me. Even though this is a neutral shade, it can lean more purple when paired with other peoples, making it a really versatile shade. It is a great colour to pair with lighter shades to smoke them out a bit, or to wear it all over the lid. Overall a really interesting and must have shade.


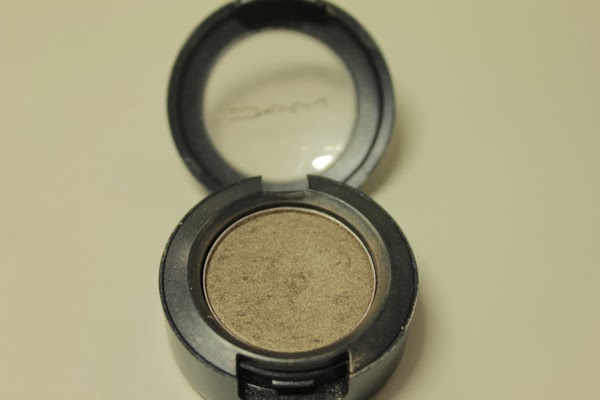
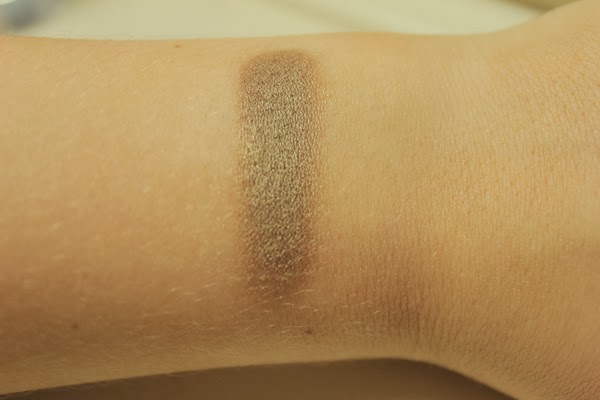
Sumptuous Olive is described as a ‘khaki with pearl’ with a veluxe pearl finish. Green is one of the only ‘colours’ I venture in with eyeshadow, and if you are a neutral lover but want to inject some colour this would be a good place to start.  This is another of those shades I like to wear alone on the lid and up the crease. This shade is almost duo chrome – when paired with browns it leans more gold, but when paired with a darker green in the crease the green really pops. It is a really easy shade to wear, and still looks relatively neutral on the eyes, but is just that little bit more interesting. 

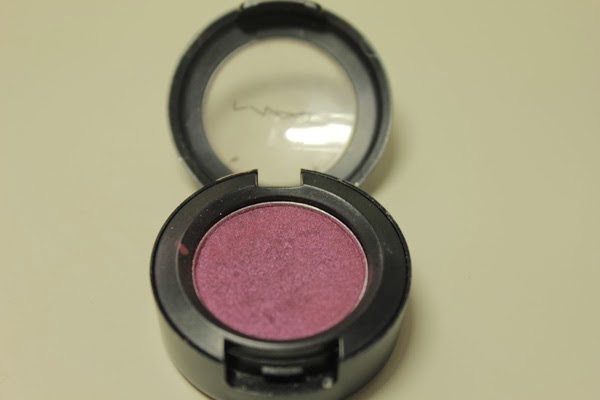
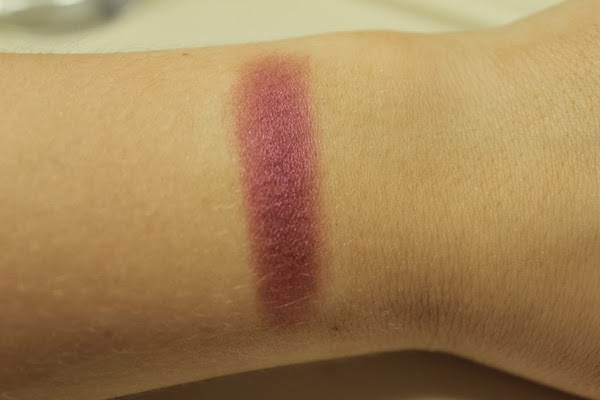
Plum Dressing is described as a ‘pinky-plum with metal’ (a slightly odd description?) with a veluxe pearl finish. This isn’t as pigmented as the other veluxe pearl finishes I own, but with this shade I prefer it so it isn’t quite so bold. Burgandy and plum are also colours I sometimes like to wear, especially in the crease with a lighter gold or beige on the lid or all over the lid and smoked out with darker plums and browns. I have to admit that this is my least used shade of all the ones mentioned in this post, but when I am feeling bold enough to wear it, it really does look good on the eyes. 

My collection of Mac eyeshadows is rather small compared to some, and I am sure mine will continue to expand in the future. They really are great quality, but with the amazing palettes currently on the market, I often find myself forgetting about them! Coming up soon – everything else I love from Mac…

-RachelElizabeth