Makeup Revolution Essential Mattes Palette | Review and Swatches


Makeup Revolution is the brand on everybody’s lips right now. Not only are they affordable, but they are getting rave reviews left, right and centre. Being incredibly late on the bandwagon, I thought it was about time that I picked up something from the brand, and as their eyeshadow palettes are probably their most popular (or at least most reviewed), I thought it was only right to start with one.

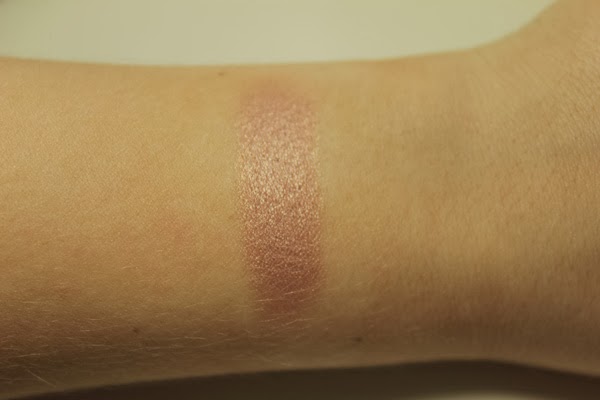
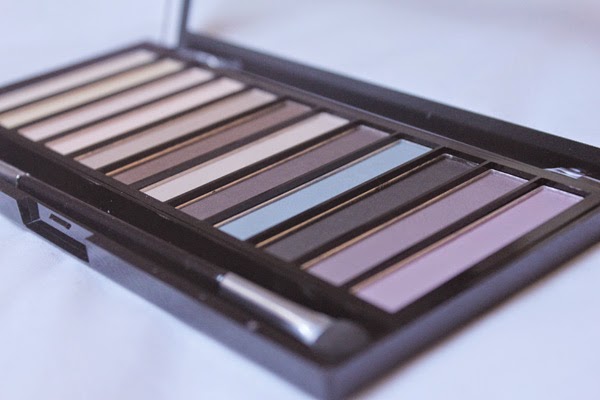
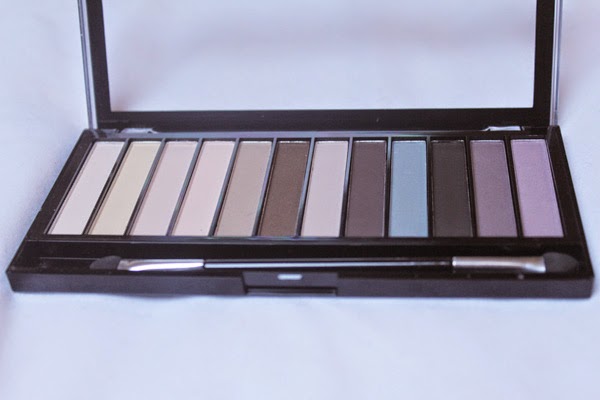
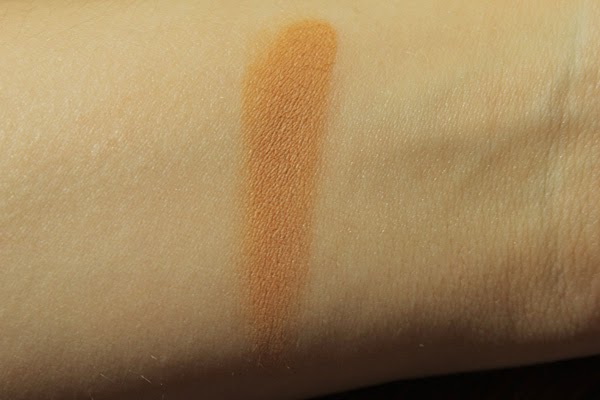
The Makeup Revolution Essential Mattes Palette contains 12 eyeshadows, all matte finish. It mostly consists of cool-tone neutral shades, but also has a blue and a couple of purples, giving a bit of a spin on a classic. In terms of the quality, and as you will see in the swatches, the darker colours are much richer and pigmented. The lighter shades in the palette are a little on the chalky side, but when blended out and used on the lids they are actually nice shades. I think perhaps they shouldn’t have included as many of these pale shades as they end up looking the same, but the colour selection is actually really nice. On the whole, they all wear well, they blend out nicely and are decent shadows to say the least. 

These obviously aren’t the best quality shadows I have ever tried, but they are amongst the best of the budget options available on the market. For the price – these 12 shadow palettes retail at only £4 – these are incredible. This is absolutely perfect for someone who wants to build their makeup collection but doesn’t have the budget for Mac or other coveted high end brands. Its also a great palette to have to use as counterparts to other palettes. Many palettes are full of shimmer and sparkle and although they are far more fun, you often need a matte crease colour or highlight to dial down the look somewhat.  


Its hard to criticise a palette that is so affordable, as you are getting a lot for your money here. I think it just depends on what type of spender or makeup-wearer you are, and whether you want lots of affordable products or a few of incredible quality that were more of an investment. I am somewhat in the middle of those – being the beauty addict that I am, I just want it all. Have you tried anything from Makeup Revolution? Leave me your recommendations below!

RachelElizabeth

Nars Indian Summer Eyeshadow Duo | Review


It’s a sad fact that in every beauty addict’s drawers that some products are going to get neglected. For me that was my Nars Eyeshadow Duos. I think its due to the packaging – the black opaque products seem to disappear amongst the more eye-catching ones I own, and I tend to forget what colours I even own. Recently, I decided to ‘shop my stash’ and amongst my Nars eyeshadows, there was one that I really wished I hadn’t forgotten about…


Indian Summer contains a light green-toned champagne shade, and a mustard shade. The mustard is definitely what I love about this palette. I have been loving using it in my crease, as it adds an interesting twist on a neutral look. Surprisingly it doesn’t show up too obnoxiously yellow, but it just adds an extra hint of warmth to a look. The other shade is also stunning – it is very metallic and pigmented. It is also a bit of a twist on a classic. It acts very much like a shimmery nude lid colour, but the hint of green adds a little bit more interest and quirkiness to it. 

So this may be an expensive product, but I would definitely say its worth it. There is something quite special and unique about the two colours, and that is what you wish for in higher end products. Would you spend this much on an eyeshadow duo? 

RachelElizabeth

L’Oreal Color Riche L’Ombre Pure Eyeshadows | Review and Swatches

Unlike many of the latest hyped beauty releases, I actually picked these up before I had heard anybody talk about them. Eyeshadows is one of the areas of beauty that the budget options just generally don’t perform that well. Of course there are exceptions, and the L’Oreal Infallible Eyeshadows are definitely the best I have come across. So when I saw that L’Oreal had released another line of single eyeshadows I was very intrigued, and couldn’t stop myself picking up a few to try out.

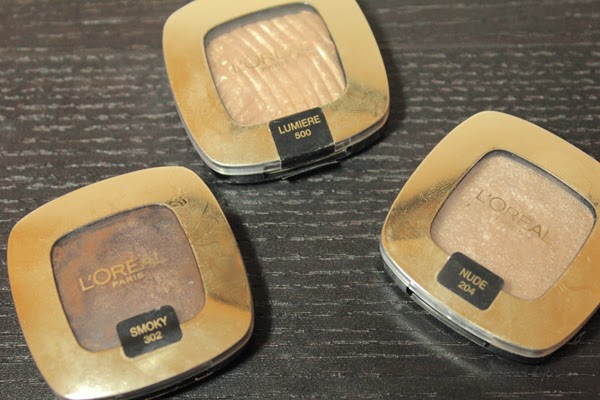
The L’Oreal Color Riche L’Ombre Pure Mono Eyeshadows are separated into 5 different categories: Nude, Smoky, Lumiere, Matte and Pop. The Nude and Smoky formulas feel much like a pressed pigment, and are quite similar to the Infallible shadows. They are both incredibly pigmented, buttery and shimmery. The Lumiere seems very similar to the formula of shadows like the limited edition Mac Extra Dimension Eyeshadows or the Estee Lauder Pure Color Gelée Powder Eyeshadows. They are very smooth and feel almost like a cream and are beautifully pigmented. As for the Matte and Pop shadows, I am yet to try them, although when swatching them in store, they seemed a little hit and miss.

Nude 204 Golden Nude is a light shimmery champagne shade, perfect for an all over lid shade or inner corner highlight if you have deeper skin. It has got a bit of glitter in but it’s nothing too chunky or overbearing. Smoky 202 Die For Chocolate is a gorgeous deep warm brown shade with a golden sheen. Warning on this shade – mine has actually crumbled when travelling, and this is because of how soft and buttery the shades are. It is still usable, but it is now irritatingly messy and I thought was worth mentioning. 500 Lumiere Gold Mania is a stunning true gold shade. 

Die For Chocolate, Gold Mania, Golden Nude

I would 100% recommend these to any eyeshadow lover, especially as they’re only £5.49 a pop! They are a great budget option, and I have honestly been reaching for these over some of my more expensive shadows. Have you picked up any from the range yet? 

RachelElizabeth

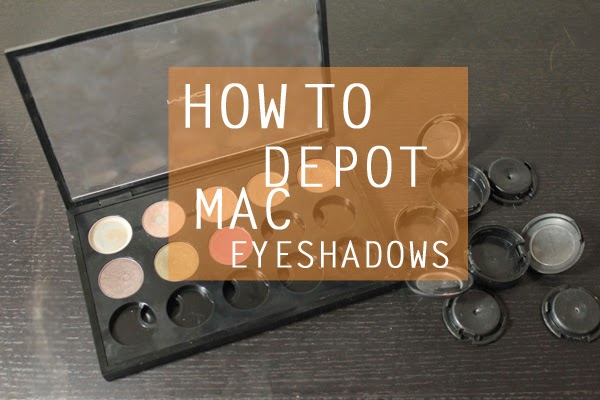
How To Depot Mac Eyeshadows

As I mentioned in my Top Mac Eyeshadows post, I have been meaning to depot my Mac collection for the longest time. I found that I just wasn’t reaching for the individual pots, so I wanted to be able to store them all together. It is also a lot cheaper to buy the shadows in the pan form, so making a palette is also a great investment. Keep reading for a step by step tutorial on how to depot your shadows…

What you will need:

  • Baking/parchment paper
  • Straighteners
  • Something sharp (I used nail scissors but a sharp knife would also work)
  • Self adhesive magnets or magnet tape (I bought mine off Amazon here)
  • A Mac palette or Z palette 


Step 1
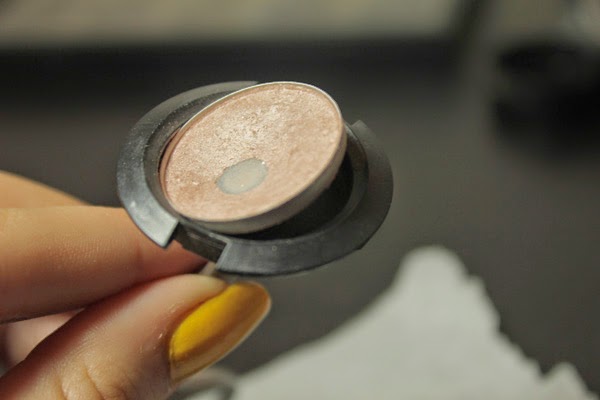
Be very careful for this first step! Use your sharp scissors or knife and wedge it into the ridge labelled in the picture above. This should then lift up and you can remove it from the outer casing. This step was easier in some eyeshadows than others, but with practice you’ll get the hang of it in no time.


Step 2
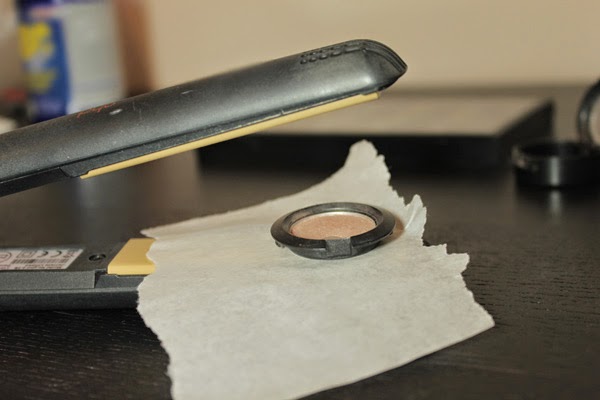
Turn on your straighteners and place a small piece of the baking paper on top of them. Once they are heated up, place your eyeshadow directly on top of the paper and leave to sit for about 30 seconds. The purpose of this step is to slightly melt the plastic casing and the glue holding the shadow in place.


Step 3
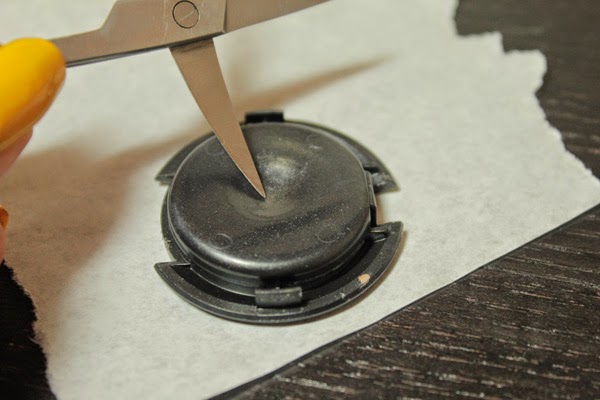
Once you see a dip in the middle of the plastic casing as above, carefully remove the shadow from the straightener and place it face down on some baking paper. Then take your sharp tool and push it directly in the middle. If it is extremely difficult to pierce the plastic, place it back on the straightener for a little longer. 


Step 4
Once your knife or scissors have broken through the plastic, the eyeshadow pan should lift away from the plastic like so. Carefully place the eyeshadow face down on the baking paper. The bottom of the pan, where the glue holding the eyeshadow in place was, will be extremely hot.


Step 5
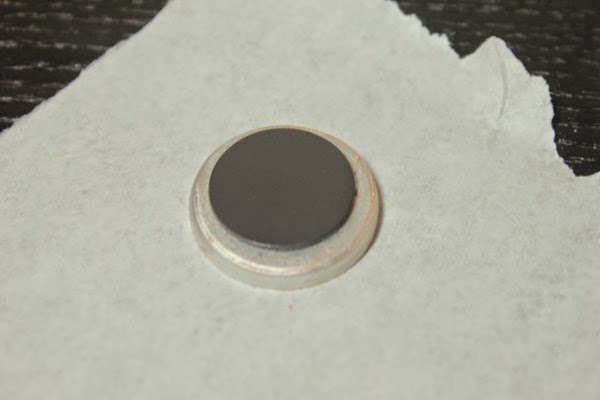
Once you have left the pan to cool slightly, now it is time to place your magnet. I recommend buying small self-adhesive magnets like the ones that I have used as they were really easy to apply and are just a bit smaller than the pans, making them the perfect size. 


Step 6
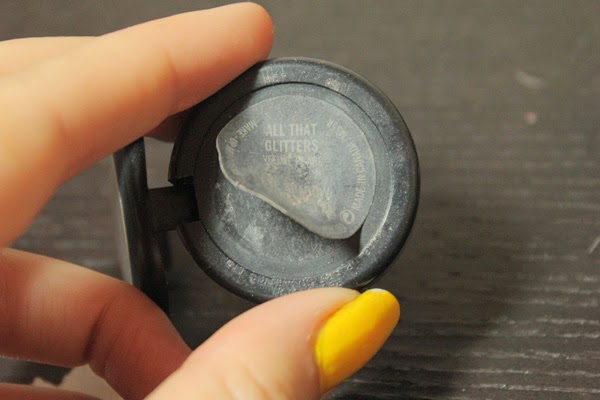
Now it is time to label your shadow. You can either make your own new labels or simply take them off of the old shadow pots. I found that with most of my eyeshadows, the labels peeled off really easily, and they were sticky enough to place directly over the magnet. However, if you’re having trouble adhering them to the pan, I suggest using glue or any other adhesive. 


And there you have it! A fully depotted Mac eyeshadow. I was expecting this to be a lot harder, but it is surprisingly simple to get the hang of it. If you’re looking to follow a video tutorial, I found Marlena from Makeup Geek’s to be very helpful (here). I hope you found this somewhat useful, and have fun creating your own Mac Palette!

Makeup Geek Eyeshadows | Review and Swatches Part 2

So this is part 2 of my first venture into Makeup Geek eyeshadows. If you missed part 1, you can check it out here. This second instalment is focusing on the darker shades that I got. I felt like I had been lacking some really good matte browns in my collection, so I made sure to get some really essential shades that I can wear all the time.


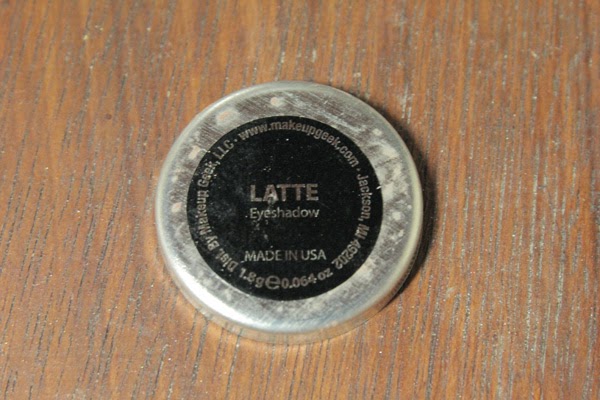
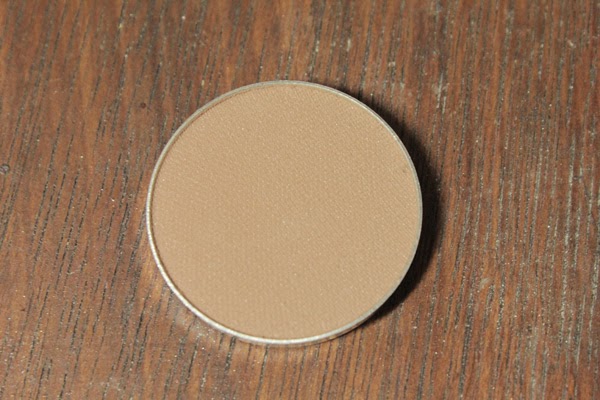
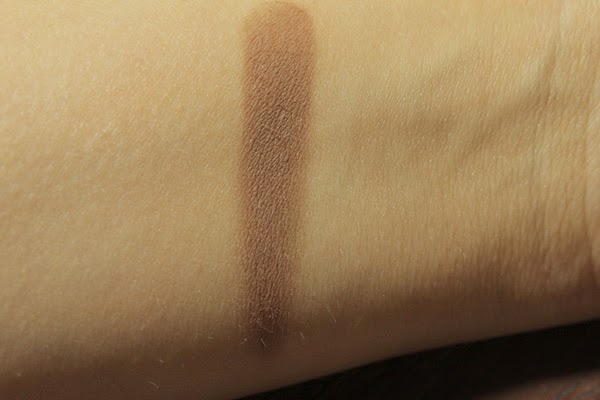
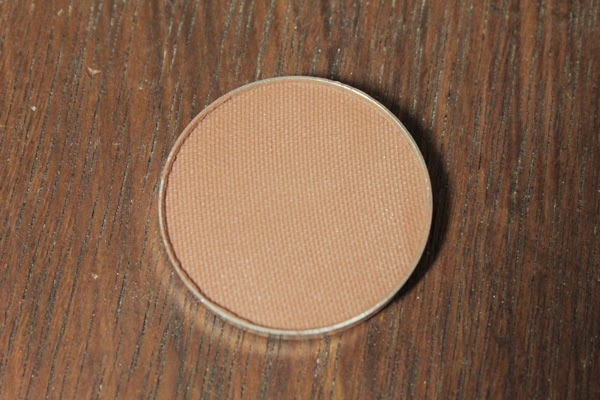
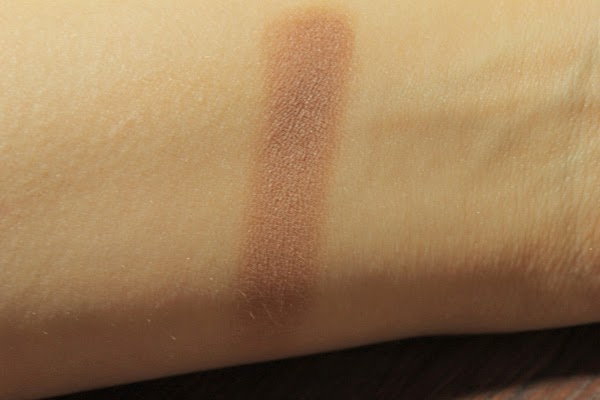
Latte is described as a ‘matte medium brown’. This is slightly cooler than some of the other shades I bought, but works really well as a crease colour. The texture, the payoff and the blendability of this shadow are excellent, and I can definitely see this as becoming a staple in my collection.


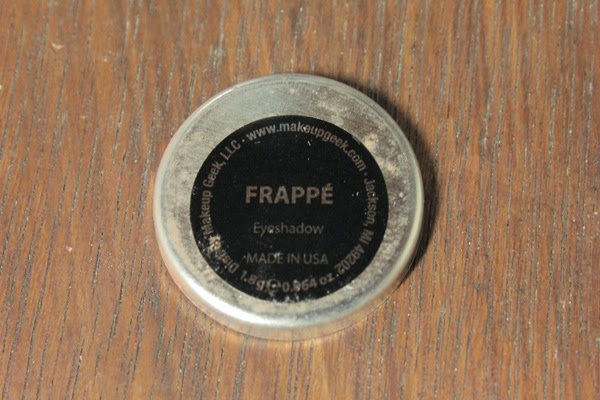
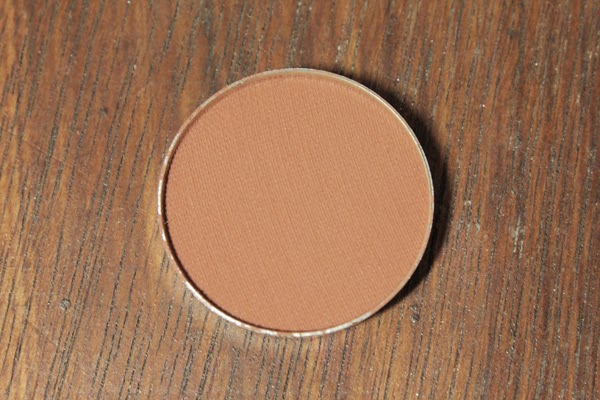
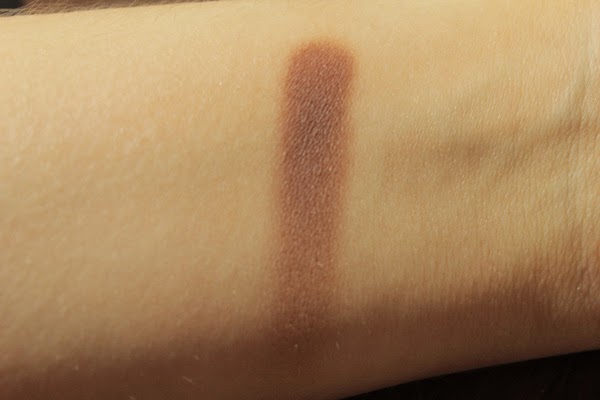
Frappé is described as ‘medium maple brown matte’. It isn’t too dissimilar from Latte but it is different enough in undertone as it is much rosier and warmer to warrant having both (at least that’s my way of justifying it…). Much like Latte the formulation is again really excellent, as it is really pigmented and smooth, and really easy to blend into the crease. 


Cocoa Bear is described as a ‘matte reddish brown’. This is a really interesting shade as although it has really obvious red undertones, it is still really wearable as a crease shade (I find it much warmer in person than in these pictures below). As I mentioned in part 1 of this review, I have been really liking warm smokey eyes on me recently, as it really brings out the blue in my eyes. Again, this is a beautifully formulated eyeshadow, and probably one of my favourites that I ordered.


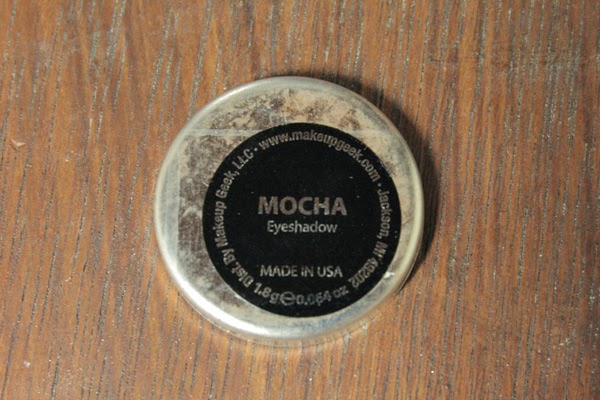
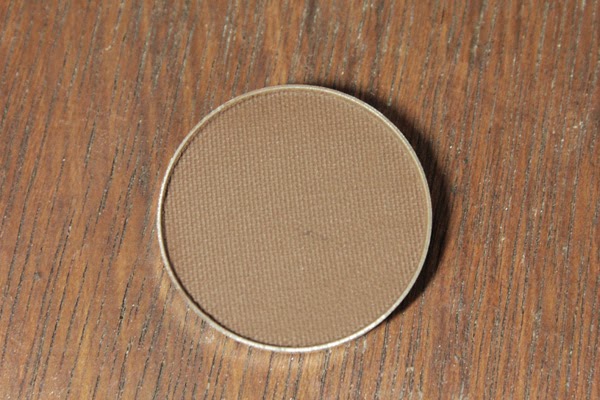
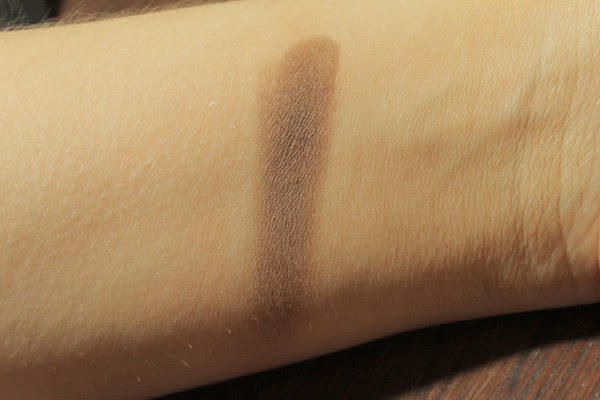
Mocha is described as a ‘deep matte brown’. It is much cooler than Cocoa Bear but it isn’t overly cool or too grey. This sort of colour is an essential for me as I always use them as eyeliner on more natural days. This is another richly pigmented and smooth shadow that I would highly recommend. 


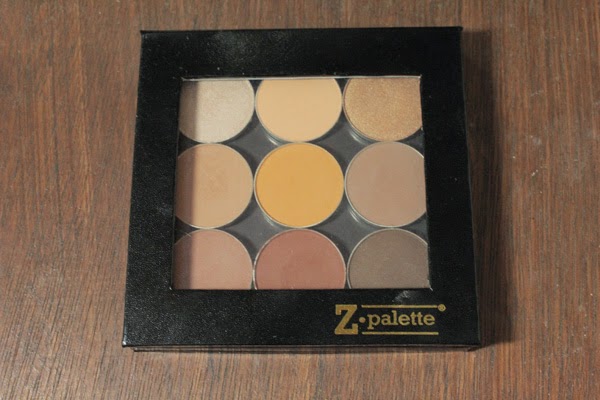
In terms of size, these are the same as Mac eyeshadows, and therefore you could put them in a Mac palette if you wanted to. I ordered a Z Palette from Love Makeup, but you can order them from the Makeup Geek website – the one I wanted wasn’t in stock when I placed my order. I got the small palette and it fits 9 shades in perfectly, but they come in several sizes depending on how much you want to fit in. 

I am overall really impressed with the shadows that I ordered, and I have been reaching for them on an everyday basis. For the price, you really can’t go wrong as they are all incredible quality. If you are interested in other shades, there are swatches of all the shades on the Makeup Geek website, which I think is super helpful. I would definitely say they are comparable to Mac eyeshadows, and if your budget doesn’t quite stretch to the likes of Mac, then I would 100% recommend checking out the shadows Makeup Geek. I am very tempted to order some more!

RachelElizabeth

Makeup Geek Eyeshadows | Swatches and Reviews Part 1

The Makeup Geek line was released a few years ago now, but it has recently been getting a lot more hype on YouTube. If you didn’t know, the line is the creation of Marlena, MakeupGeekTV on youtube, and currently consists of brushes, eyeshadows and pigments.  I have been eying these up for a while, particularly because it seems that she has personally put so much effort into her line, and is very much in control rather than going through another company. Staying on the safe side, I ordered 9 neutral eyeshadows in the pan, and I must admit, this was one of my most exciting orders in a long time. This post includes 5 of the 9 shades I ordered, so if you are interested in the others I bought, check back tomorrow… 

Each shadow in the pan is $5.99 (approximately £4) available here, making these an incredibly affordable option compared to the likes of mac. Shipping was very cheap and arrived in two weeks, which isn’t bad considering it came from the US. Be warned, I did have to pay £14 in customs charges which is a bit annoying, but it didn’t hurt quite as much as the shipping and the shadows themselves were very affordable. 


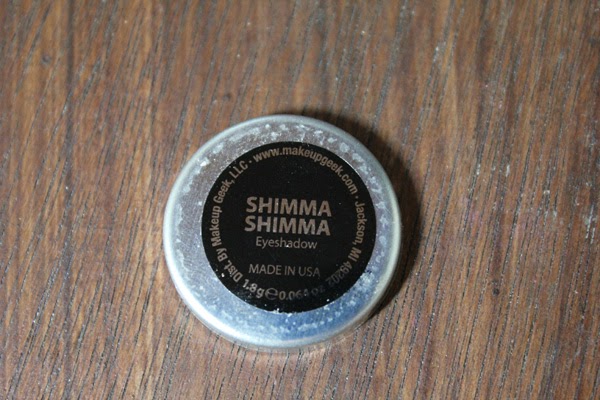
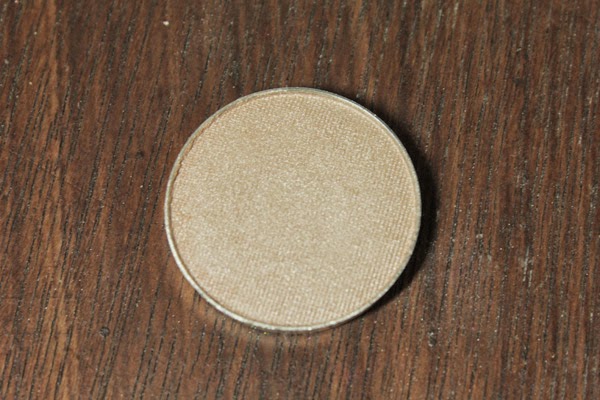
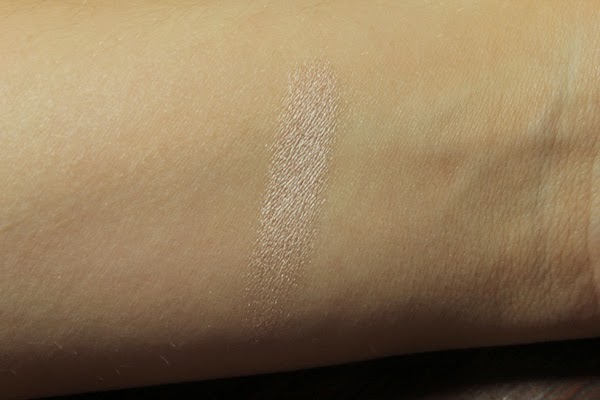
Shimma Shimma is described as a ‘metallic champagne’. It is a frosty light pinky-beige shade, which is perfect for highlighting and sweeping all over the lid to brighten. This shade is so creamy and pigmented and is really easy to work with. I did find that the shimmery shades seem to fade a little throughout the day but that’s nothing that a good primer can’t fix. 


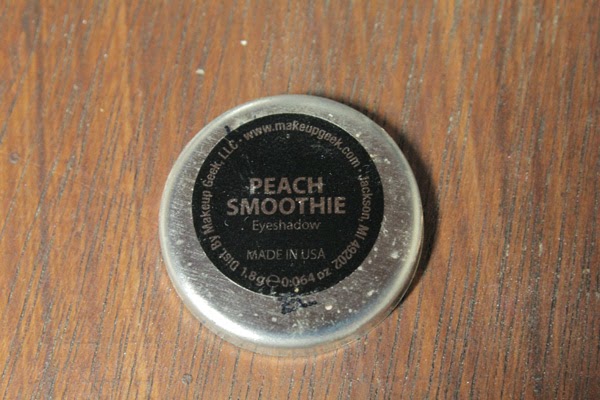
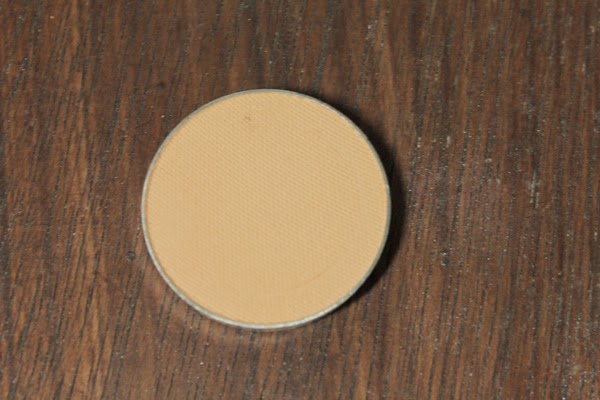
Peach Smoothie is described as a ‘light peach beige with a soft matte finish’. It is a pretty light pastel peach shade. This was a little disappointing as it doesn’t pack as much of a punch as I wanted it to, and it feels a little dry in texture. It is however, still decently pigmented and is nice to sweep over the eyelid to create a warm eye look. I’ve been gravitating towards slightly more orangey shades for the summer and I find this to be a great base colour for those looks.


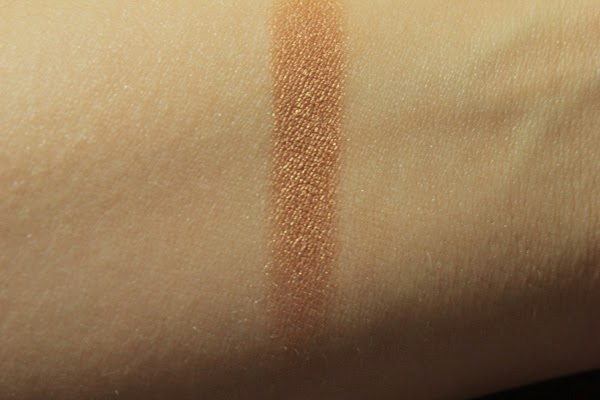
Glamorous is described as a ‘shimmery bronze gold’. On my skin, at least, this pulls a bit more coppery and orange than gold. However, I find shades like this look more gold and less orange the more tanned I get, so bare that in mind if you are a darker skin tone than me. Other than Shimma Shimma this was the only shimmery shade I ordered, and this is the same beautifully buttery formula. It’s incredibly pigmented and absolutely stunning for bringing out blue eyes in particular.


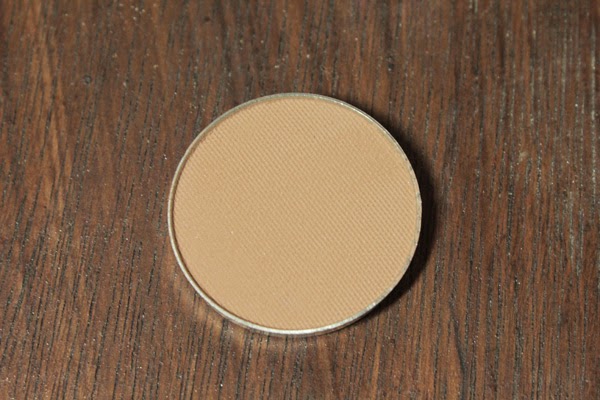
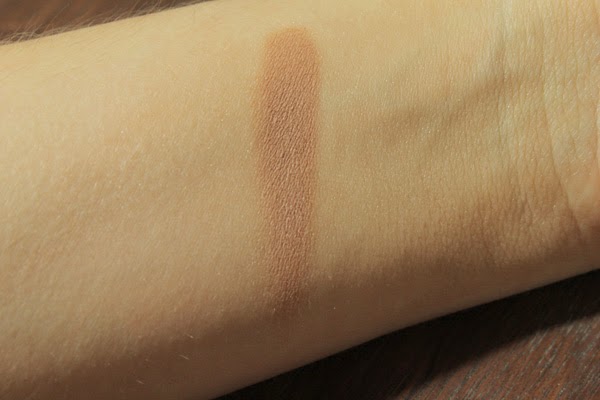
Crème Brulee is described as a ‘medium sand colour with a soft matte finish’. This is probably one of my favourites that I ordered. It is a mid-tone brown shade which leans more on the warm side, and is really nice for a transition colour in the crease. It is much more buttery and smooth than Peach Smoothie, and blends beautifully, which can be an issue for matte shades. I think that everybody needs a shade like this, a couple of shades darker than your skin tone, which can be used in pretty much every eyeshadow look.


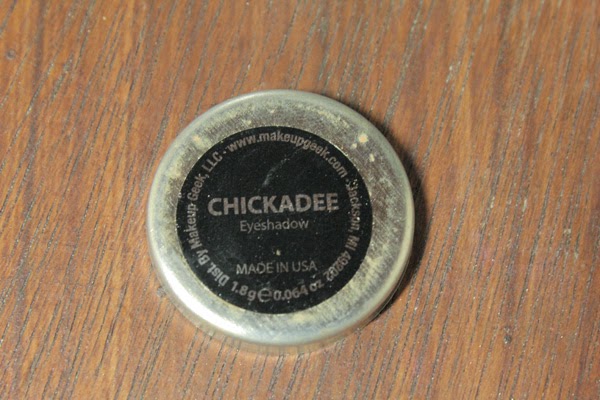
Chickadee is described as a ‘matte yellow orange’. This shade was another buttery matte shade, but it is slightly powdery when you swirl your brush in it, but I didn’t find that this affected how it applied or blended. Now you’re probably questioning my statement that I bought all neutral eyeshadows, but hear me out on this one. To warm up any smokey eye, it looks absolutely stunning to put a shade like this right above the colour that you have put in your crease. I also bought this with the intention of experimenting with colour, and orange looks absolutely stunning on blue eyes. 


So that concludes part one of my Makeup Geek Eyeshadow review, but make sure you check back tomorrow for the rest of the shades I picked up…

RachelElizabeth

The Naked 3 Weekender | Look 3

Sadly, we have come to an end of my three part series, but I thought I would end it with a bang with this dramatic smokey look. My attempt was to show the versatility of the palette and even though it is ‘rose-hued’ it doesn’t have to look overly pink. I fell in love with the colour Blackheart when I first saw it, and knew I had to include it in one of these looks. 

Look #3 – The Dramatic Smokey
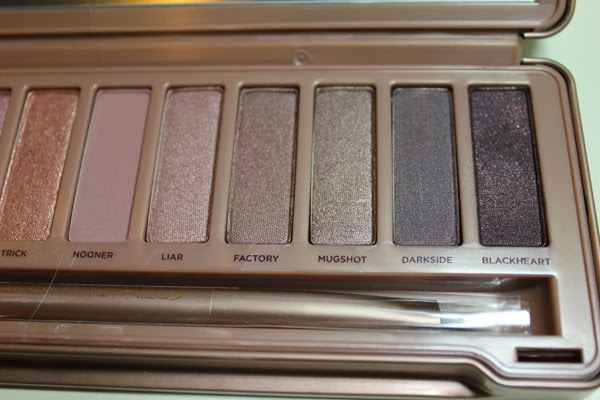
I wanted the eyes to be really dark, so I started with the Urban Decay 24/7 Glide on Eye Pencil in Zero and put it all over my lid and blended out with a fluffy brush as a base for my eyeshadow. I then put the shade Nooner in the crease as a transition shade, and to keep the smokiness I used Darkside in between the black base and Nooner. I then packed Blackheart onto the lid, and the black base really helped the burgundy shimmer pop. For a bit of interest under the eye, I used the colour Buzz along the bottom lash line and Dust in the inner corner for some added brightness and sparkle. 

To add to smokiness of this look, I lined the upper and lower waterline with the Zero eyeliner I used as a base, and put a thin line of the Mac Fluidline in Blacktrack. As usual, I put heaps of the Chanel Volume de Chanel Mascara. For added drama, falsies would be a great touch. As I would wear this on a night out I contoured with Mac Powder Blush in Harmony (only available in mac pro stores) and used a little of the Mac Mineralize Blush in Warm Soul. I love pairing a nude with deep smokey eyes so that the look is all about the eyes so I chose the Tom Ford Lip Colour in Nude Vanille.


So that concludes The Naked 3 Weekender. I would definitely say that this palette is unique, and I think I will be creating infinite rose-hued looks with it. Is it a must have? For all you Naked and Urban Decay lovers out there it probably is. But for those of you who aren’t as Naked-fanatic as I am, I would suggest picking one up as they my favourite palettes I own. As for which one? If I had to choose, I would probably say that the original Naked Palette is my favourite, because the warm golden tones really suit my colouring.

RachelElizabeth 

The Naked 3 Weekender | Look 2


So today marks day 2 of my Naked 3 Weekender. This is the type of look I’ve been loving to wear on a daily basis recently, so I thought it made sense to create one out of Naked 3. I paired this with a semi-dark lip but I would definitely rock a vampy lip with this eye look. 


Look #2 – The Subtle Smokey Eye
I started with the Original Primer Potion sample that came with the palette, and  then put the light rosy-taupe shade Liar all over the lid and under the eyes. I then focused the next shade mugshot on the outer corner and half way into the crease. I then used Strange as a highlight under the brow.

To add to the smokiness of the look I lined the eyes with the Sleek Eau La La Liner in Molasses and smudged it with a pencil brush. I then applied, as usual, my Chanel Volume de Chanel Mascara. For a pretty plum flush on the cheeks I used Mac Powder Blush in Coygirl (which I love using with a  darker lip – and have just found out that this has been discontinued!). For the lips, I used the Rimmel Apocalips Lip Lacquer in Galaxy which is a light purply-plum colour.


If these last two looks have been a little too subtle for your tastes then don’t worry, I’ve got something you may enjoy in the final instalment of The Naked 3 Weekender coming up tomorrow… 

The Naked 3 Weekender | Look 1

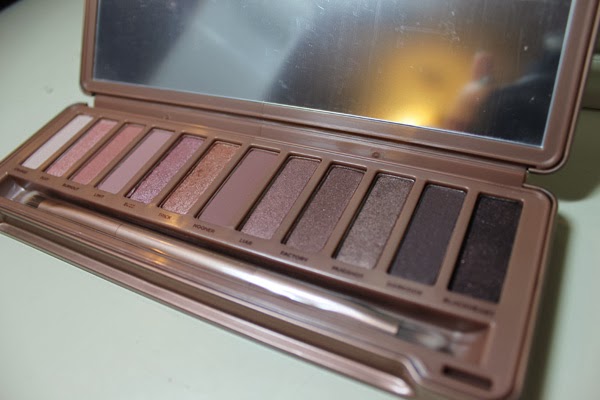
Ever since Urban Decay announced even the name of this palette, it’s all anyone can talk about. If you’ve been living under a rock and haven’t heard of this palette or the Naked series from Urban Decay, may I present the beauty that is the Naked 3 Palette (£37 here) – the new offering of all brand new ‘rose-hued’ neutrals.

I’ve been playing with this palette for about a week now, and I will go ahead and say that I am in love. There are so many reviews and swatches of this palette so instead I thought I would give you 3 different looks I came up with everyday this weekend…

Look #1 – The Romantic


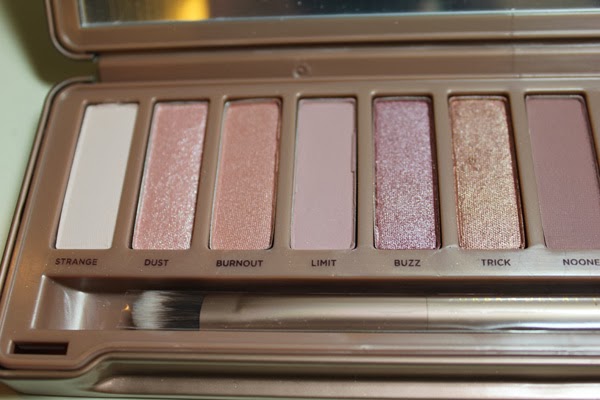
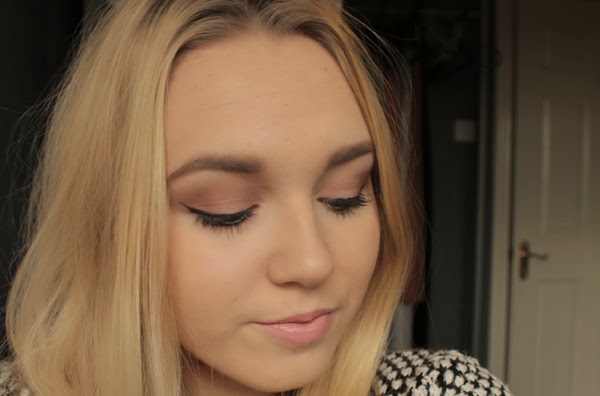
This look is very much focused on the rose-gold and lighter end of this palette. For this romantic look I started off by priming the eyes with the Eden Eye Shadow Primer Potion sample that came with the palette, and then packed Burnout on the inner two thirds of the lid, and the coppery Trick on the outer third. I took the lighter matte shade Limit and swept that in the crease to create some definition, and used the lightest shade Strange to highlight under the brow and the inner corners of the eyes. 

To finish off the eyes, I lined the eyes and did a slight wing with Mac Fluidline in Blacktrack and applied lashings of the Chanel Volume de Chanel Mascara. I bronzed up the skin with Nars Bronzing Powder in Laguna and applied Mac  Powder Blush in Pink Swoon for a light pink flush on the cheeks. For lips, I wanted a peachy nude so went for the Sleek Pout Paint in Minx


I really liked how this look turned out, and I can definitely see this becoming a go-to everyday eyeshadow combination. Tomorrows look – subtle smokey eye for everyday.

RachelElizabeth

Best of Mac | My Top Eyeshadows

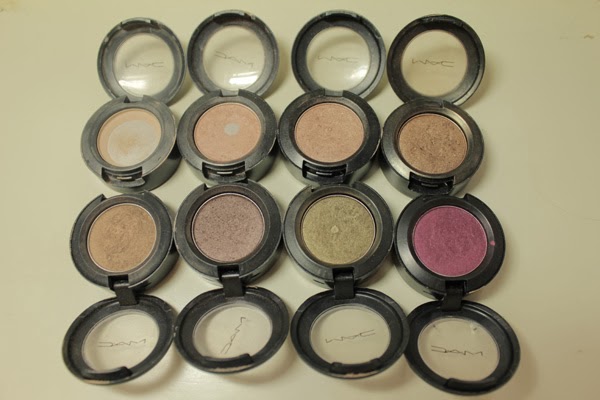
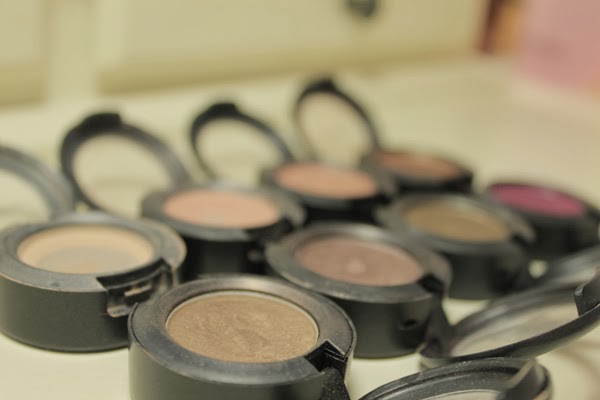
So this is my second instalment of my Best of Mac series – read all about my favourite lipsticks here. Mac’s range of eyeshadows is very similar to that of their lipsticks; they pretty much have every shade you could imagine. When I’m in store I tend to gravitate towards the shades I already have without realising, so that often makes me think I’ve got most of them right. The eyeshadows in pot form as shown above are £12.50 here. I keep telling myself that I will depot all of these and put them in a palette so that I can buy them in pan form from now on. Expect a blog post when I eventually get round to that…

Brule is described as a ‘soft creamy beige’ with a satin finish. This, as you can see, was very difficult to swatch and photograph – 1) because I have very little left, and 2) it is very close to my skin tone. I think the amount of pan I have hit is a testament to how much I use and love this eyeshadow. I like to use it as a base all over the lid and up to the brow which makes eyeshadows put over the top so much easier to blend. It is also really handy to help blend harsh lines in the crease to make it seamless up to the brow. I really recommend, if you haven’t already, investing in an eyeshadow close to your skin tone for all the above reasons.
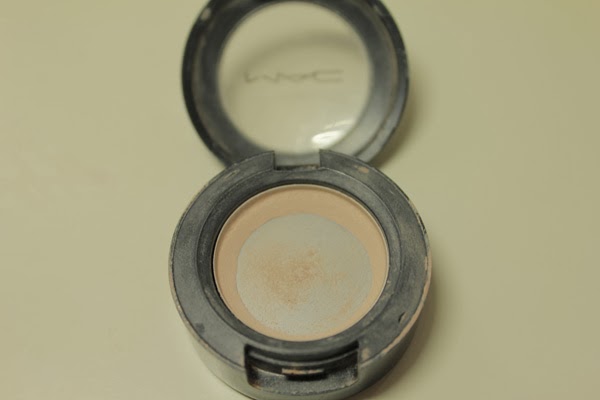
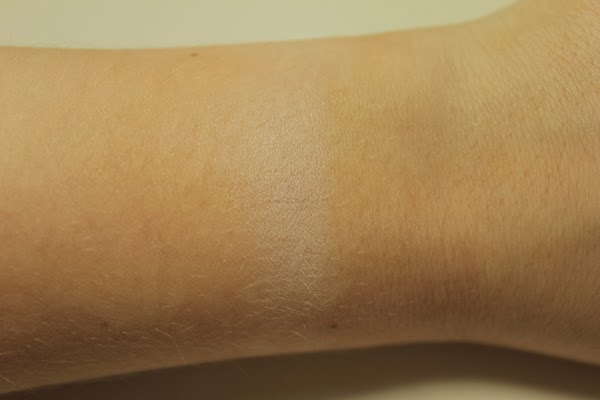
Naked Lunch is described as a ‘minimal pink with shimmer’ with a frost finish. This is a very talked-about eyeshadow in the blogging and youtube worlds, and is another of my favourites. I love putting this all over the lid for an everyday look, or smoking it up with darker shades. It isn’t overly sparkly, but it is nicely frosted and creates a nice sheen on the lids. This is a must have for any neutral eyeshadow lovers.
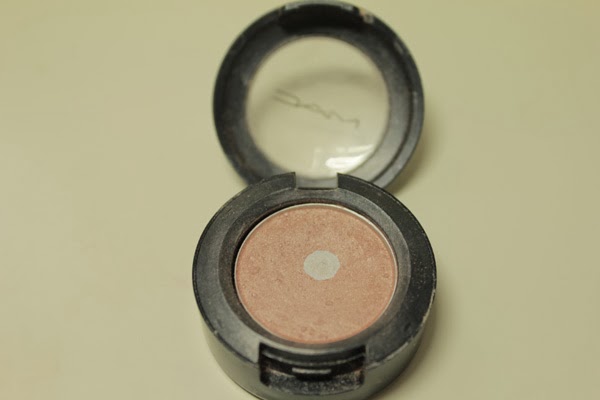
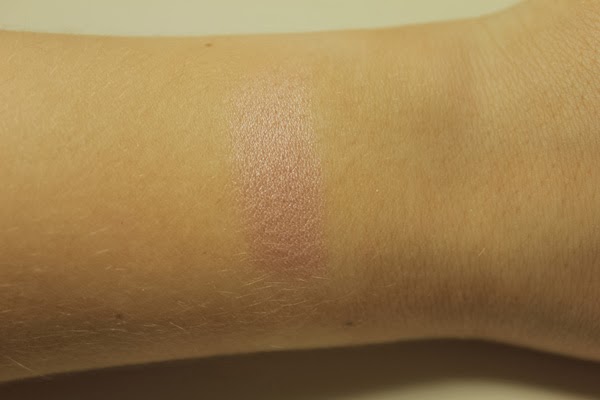
All That Glitters is described as a ‘beige with gold pearl’ with a  veluxe pearl finish. This is another very hyped up shadow, and probably because of Ellie ‘Allthatglitters21’ on youtube, and several other bloggers and you tubers that all swoon over this eyeshadow. I really like this shadow, but, especially when I’m pale, I can find this difficult to wear. It sometimes comes up a bit too orange on me, so I have to pair it with a less warm shadow in the crease. Veluxe pearl is my favourite finish though – they are incredibly pigmented and smooth, and have really pretty sheen running throughout. I think this shadow would work very similar to Naked Lunch and would look incredible on medium skin tones (I love this when I’m tanned!).
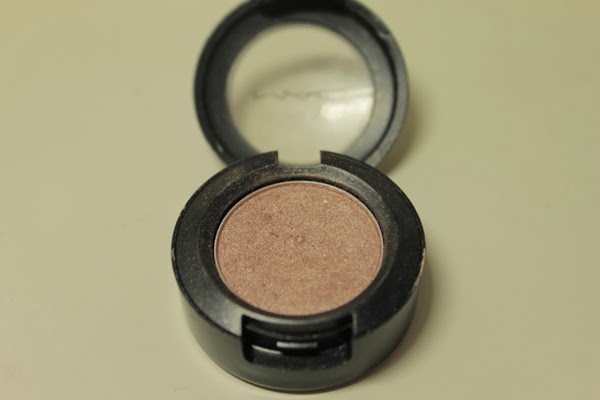


Woodwinked is described as a ‘warm antique gold’ with a veluxe pearl finish. If you have blue eyes and don’t have this colour, you need this in your life! This brings out the blue in my eyes so much and I find it really flattering. It’s one of those versatile shades that you can put all over the lid and blend slightly in the crease and it looks like you’re wearing two different colours with minimal effort. This is also a go-to for me for smokey eyes as it really glams up any look. Like All That Glitters, this looks better on when I am more tanned, as it can lean a little orange. But it’s so beautiful I wear it regardless!
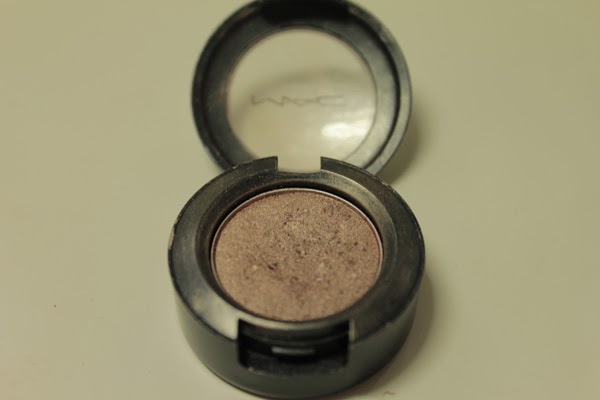
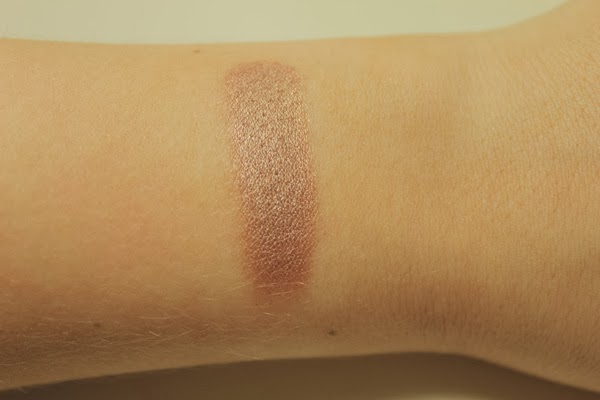


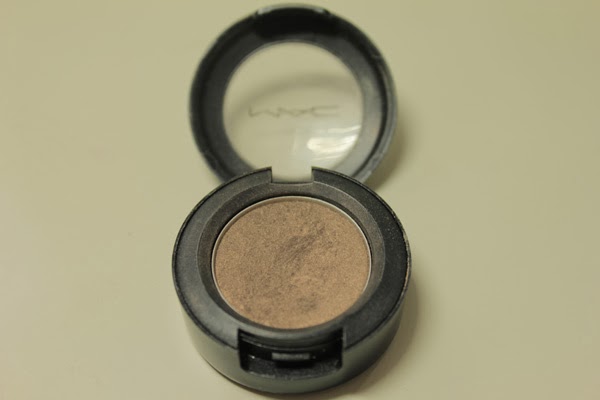
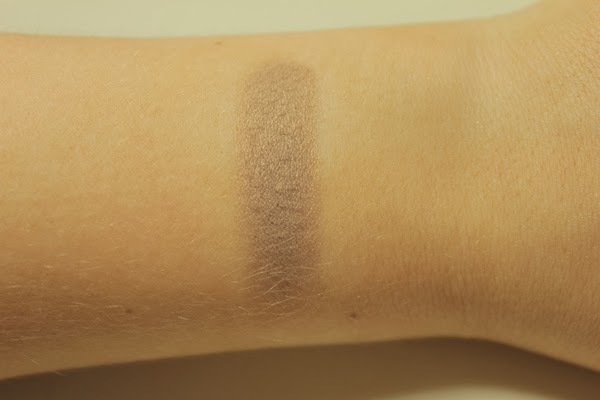
Patina is described as a ‘taupe brown with a golden pearl’ with a frost finish. I find the combination of the cool base colour with the shot of warm flecks throughout make this shade really unique. It’s a shade like Woodwinked where it is very versatile, and I often wear this shade all by itself. It doesn’t look very exciting in the pan, but on the eyes this is such a flattering colour, and it isn’t overly shimmery. One of my all time favourite eyeshadow looks is wearing this on the lid and putting Satin Taupe (up next!) in the crease.


Satin Taupe is described as a ‘taupe with silver shimmer’ with a frost finish. This is another cult shade and is definitely up there for me. Even though this is a neutral shade, it can lean more purple when paired with other peoples, making it a really versatile shade. It is a great colour to pair with lighter shades to smoke them out a bit, or to wear it all over the lid. Overall a really interesting and must have shade.
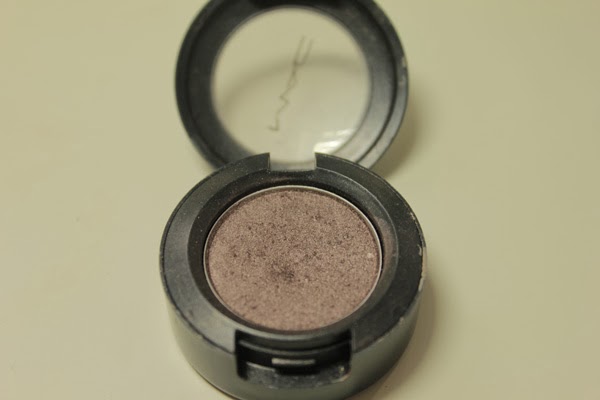


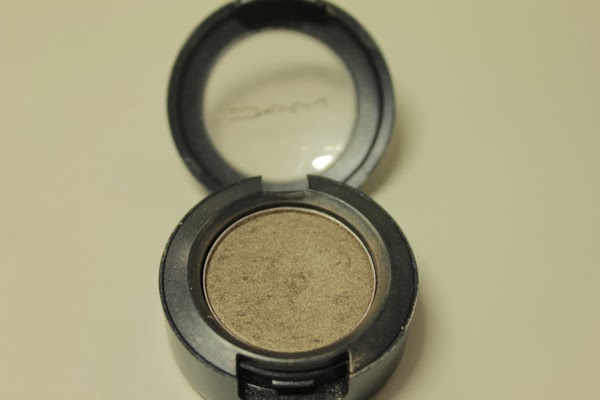
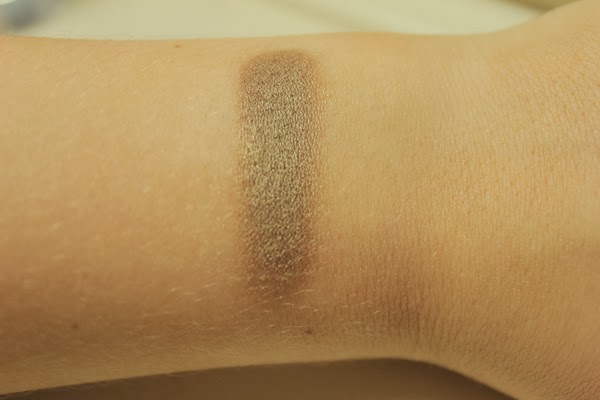
Sumptuous Olive is described as a ‘khaki with pearl’ with a veluxe pearl finish. Green is one of the only ‘colours’ I venture in with eyeshadow, and if you are a neutral lover but want to inject some colour this would be a good place to start.  This is another of those shades I like to wear alone on the lid and up the crease. This shade is almost duo chrome – when paired with browns it leans more gold, but when paired with a darker green in the crease the green really pops. It is a really easy shade to wear, and still looks relatively neutral on the eyes, but is just that little bit more interesting. 
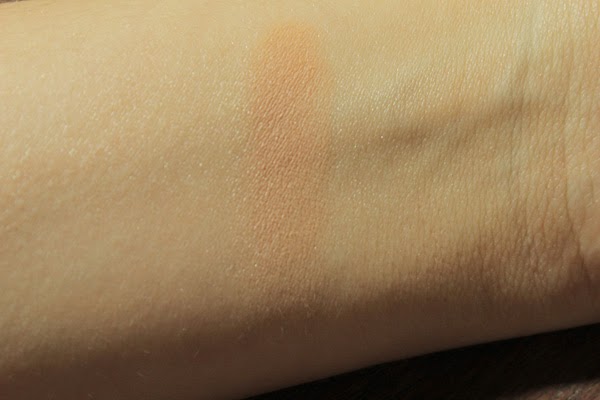
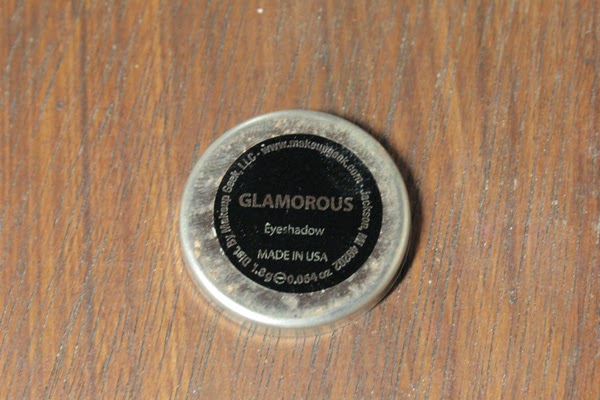
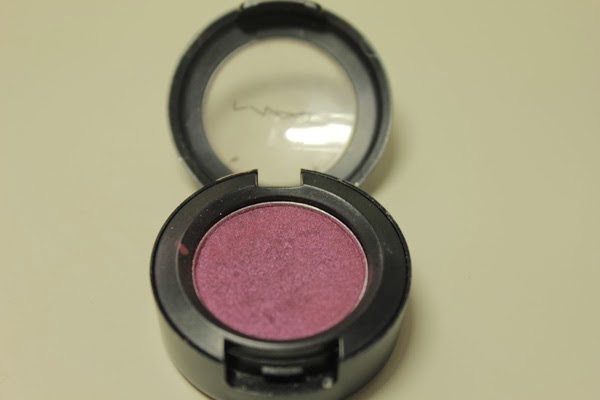
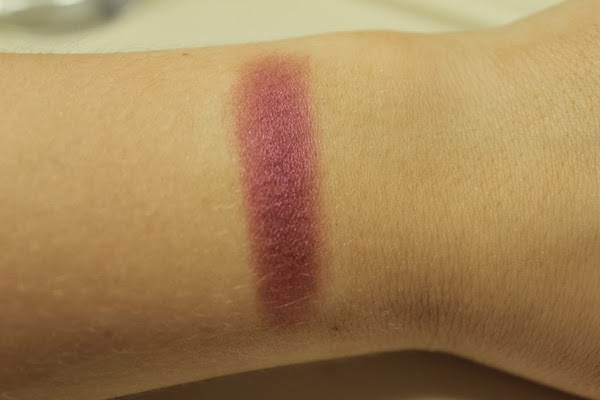
Plum Dressing is described as a ‘pinky-plum with metal’ (a slightly odd description?) with a veluxe pearl finish. This isn’t as pigmented as the other veluxe pearl finishes I own, but with this shade I prefer it so it isn’t quite so bold. Burgandy and plum are also colours I sometimes like to wear, especially in the crease with a lighter gold or beige on the lid or all over the lid and smoked out with darker plums and browns. I have to admit that this is my least used shade of all the ones mentioned in this post, but when I am feeling bold enough to wear it, it really does look good on the eyes. 

My collection of Mac eyeshadows is rather small compared to some, and I am sure mine will continue to expand in the future. They really are great quality, but with the amazing palettes currently on the market, I often find myself forgetting about them! Coming up soon – everything else I love from Mac…

-RachelElizabeth